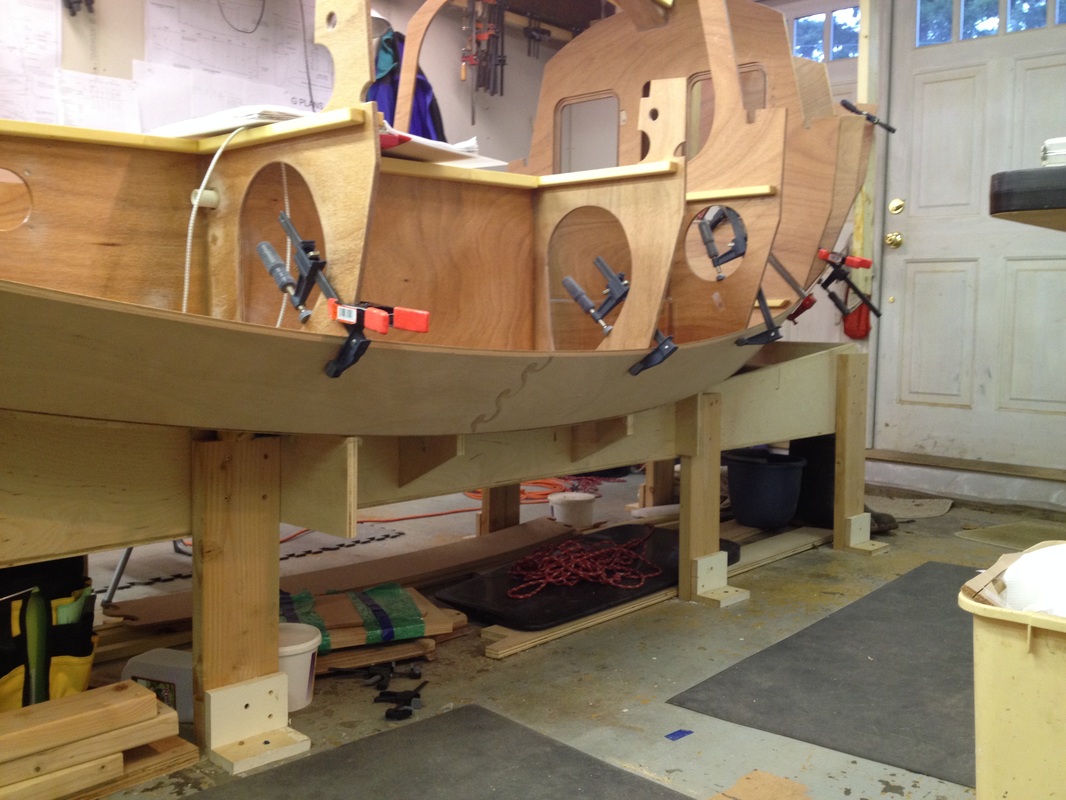
 Dry fit of the starboard garboard plank - I decided not to spend $ on a nailer as some SCAMP campers have done, to temporarily attach planks, but instead will be using clamps and wire to hold the planks in place. The pix at right shows the clamping funny business needed to twist the bow end of the plank into place (takes quite a bit of force!). You can also just see braces pushing the plank against the stem. | 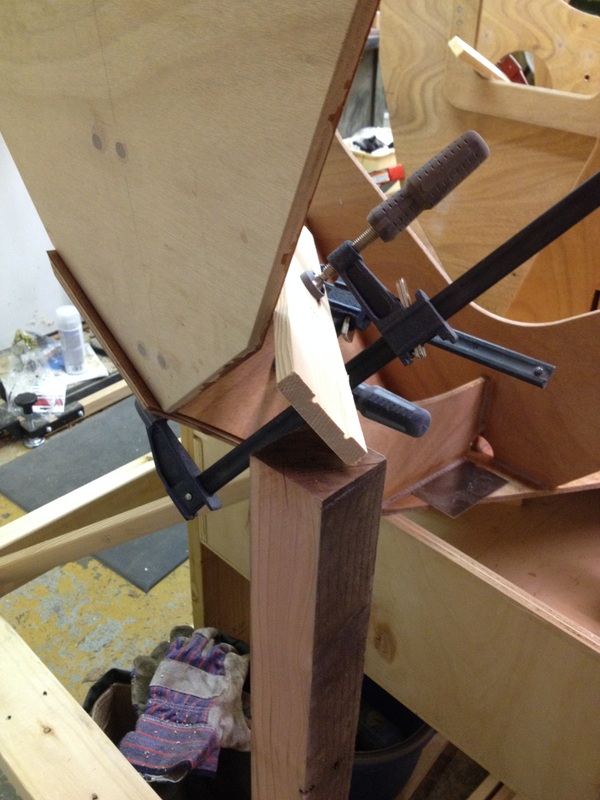 |
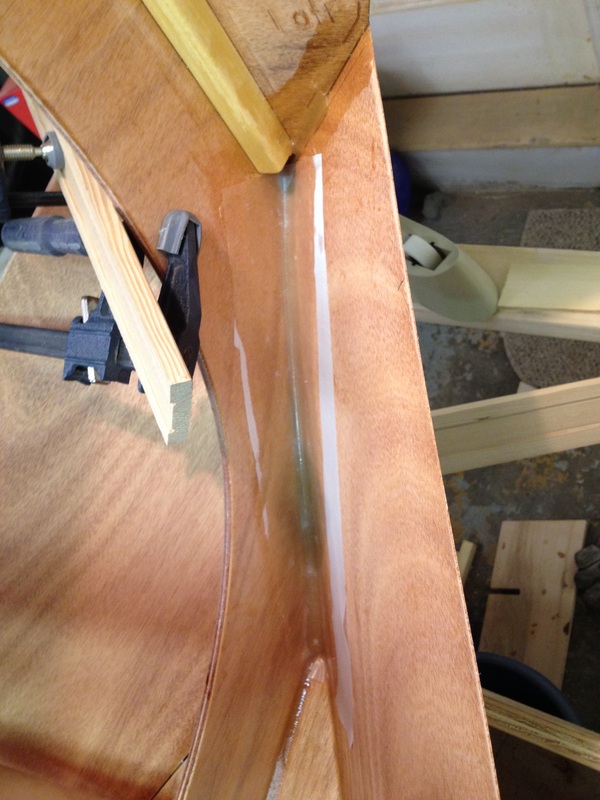
I decided to put glass tape on the garboard to stem joint, even though the build manual doesn't indicate this needs to be done. The joint to the bow bulkhead, and to the bottom will be taped, so it seemed to make sense to do this joint as well. And it makes me feel better.
I decided to do this with peel-ply - I added the tape dry, applied an extra amount of epoxy (more than needed to wet the weave), then covered with peel-ply fabric. Then, lightly dobbed the surface of the peel-ply with a clean rag, to soak up extra epoxy. Next morning, peel the peel-ply, and a finished surface, which only needs a light sanding, is what you get. Pretty neat. I might use this technique elsewhere - we shall see.
I decided to do this with peel-ply - I added the tape dry, applied an extra amount of epoxy (more than needed to wet the weave), then covered with peel-ply fabric. Then, lightly dobbed the surface of the peel-ply with a clean rag, to soak up extra epoxy. Next morning, peel the peel-ply, and a finished surface, which only needs a light sanding, is what you get. Pretty neat. I might use this technique elsewhere - we shall see.
 | 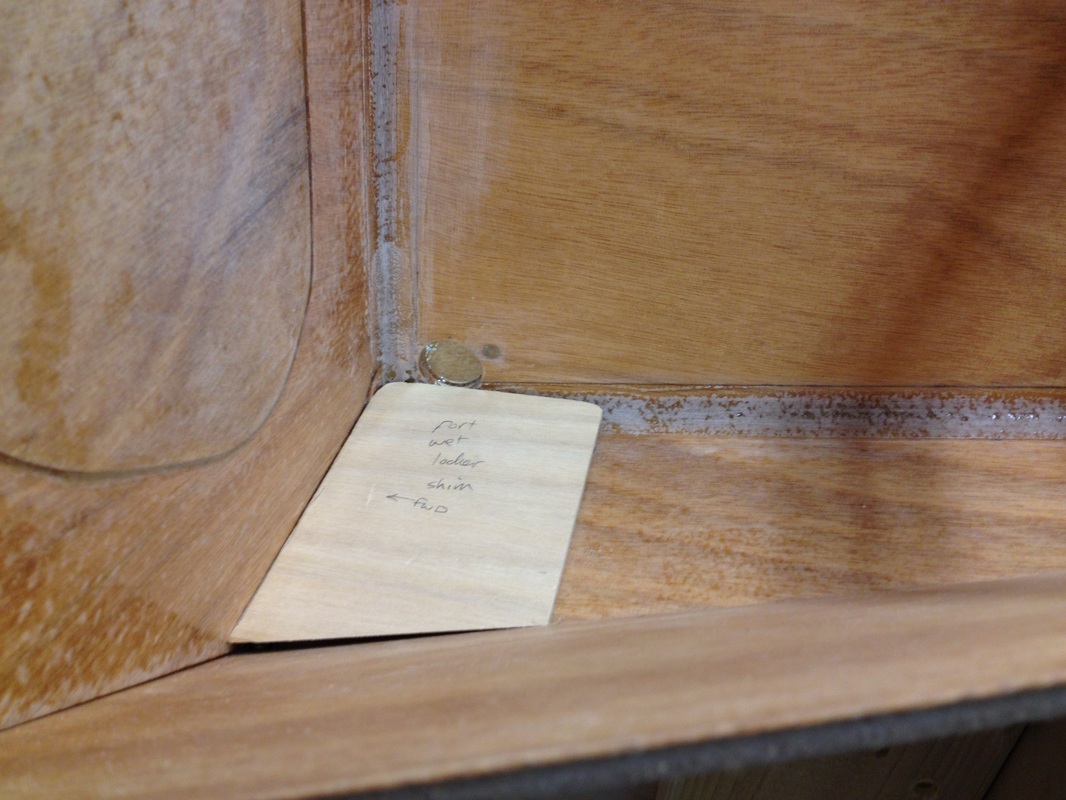 Meanwhile, I worked on converting the port BH 7/8 area into a wet locker (for storing anchor rode). At left, plugging the access hole in BH7, and at right, a plywood shim that will raise the forward end of the floor of the locker so that it is at or slightly above the drain plug you can just see near the corner of the bulkhead and longitudinal. The shim doesn't fit as well as you'd like, but epoxy will take care of that, as usual. |
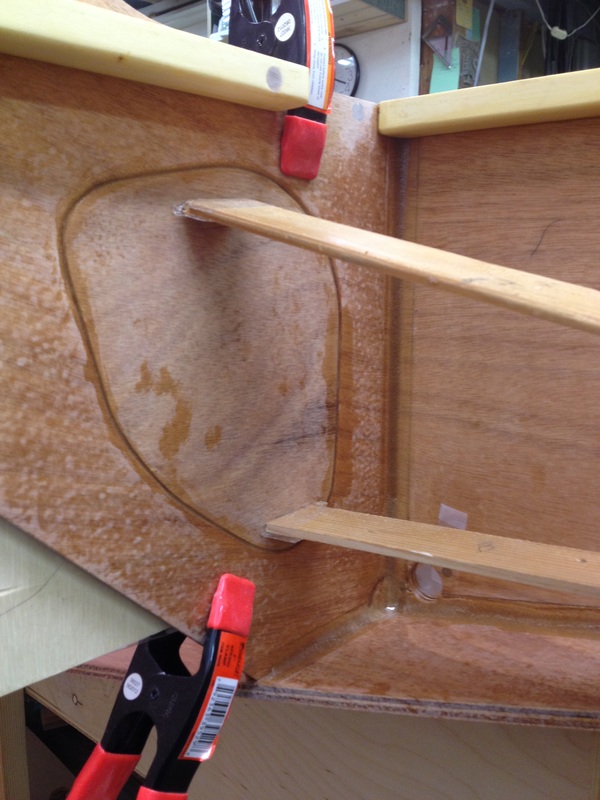
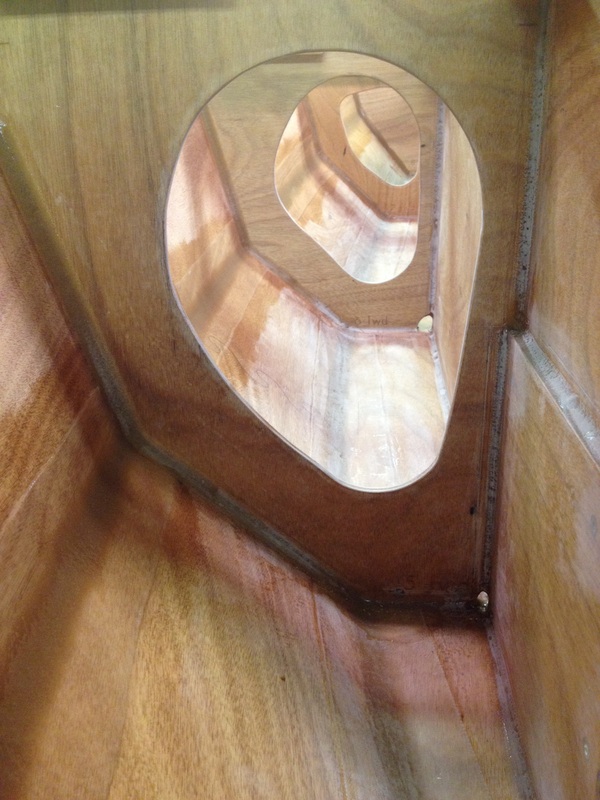
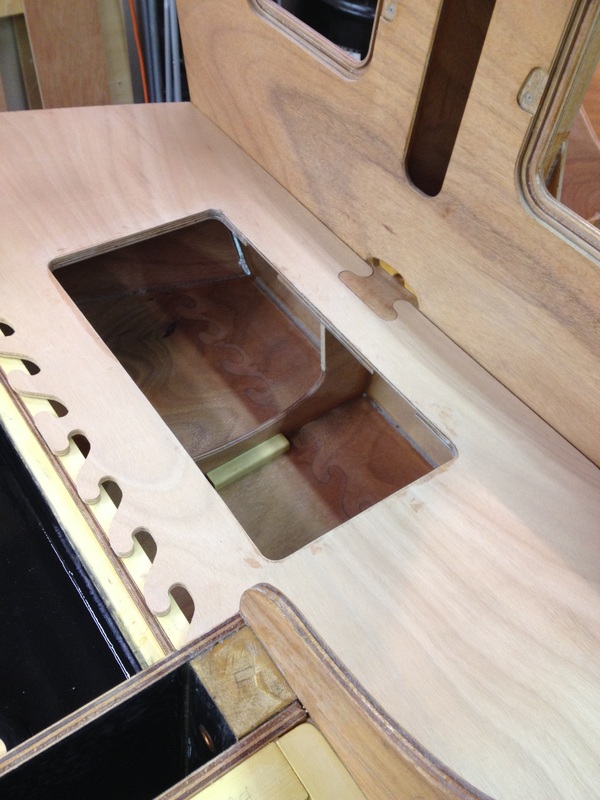 |  Another thing worked on while waiting for plank epoxy to cure, is sole hatch cutouts. You can see the hatch locations I am planning. The sole hatches are Armstrong deckplates, as is the BH4 access plate, in the right photo. As others have done, I cut away a portion of the stem between BH3 and 4 so as to allow for a single hatch in the veranda area. I made a router template to cut the rectangular openings in the sole, especially since I had two to do. I will be making templates to cut the (larger) opening in the doubler as well. |
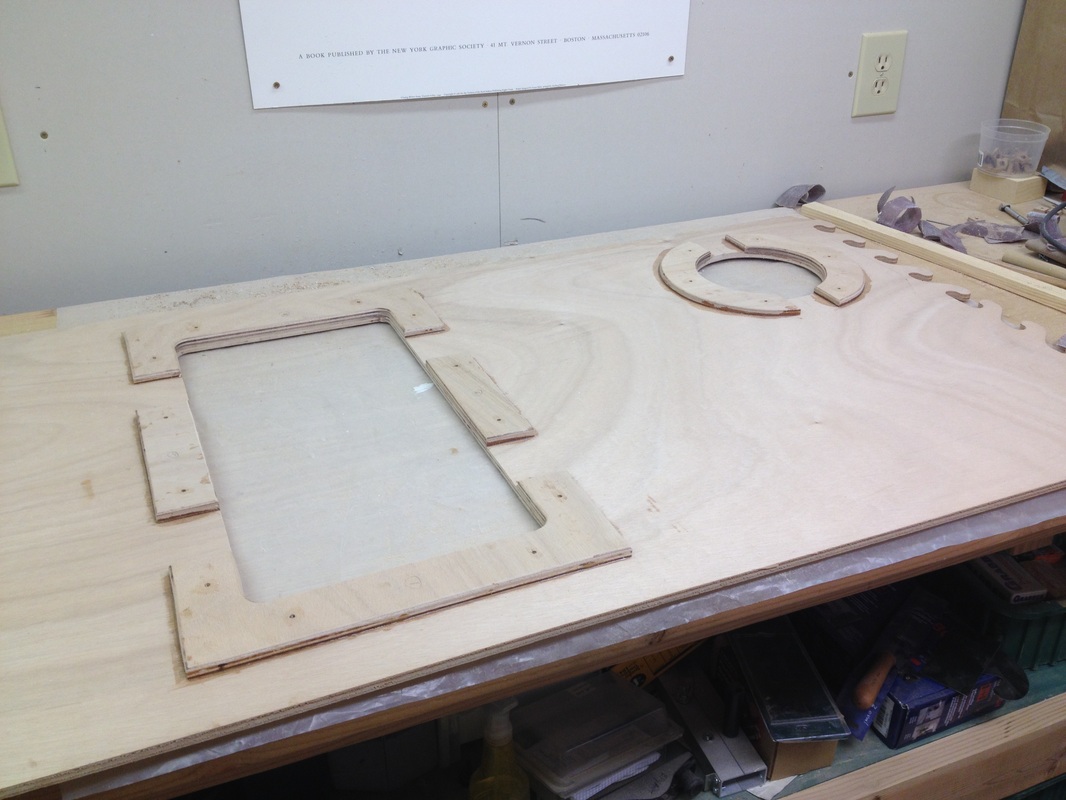
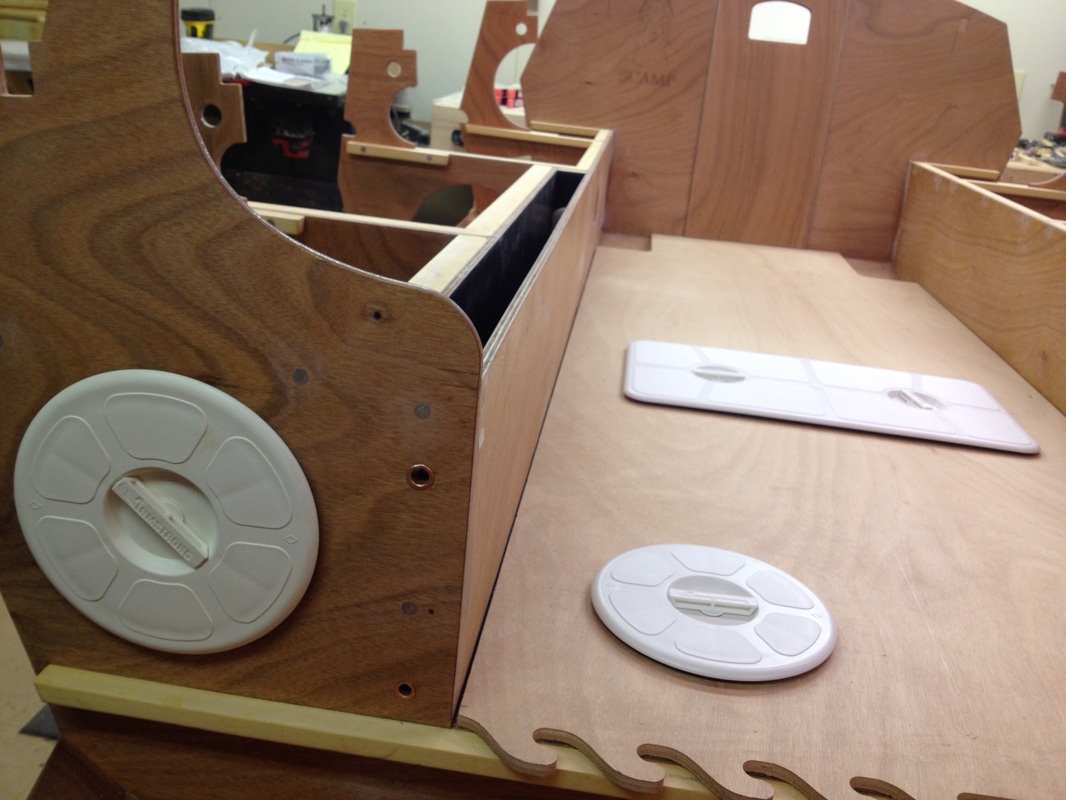
The deck plates rest on the edge of the cutout, and theoretically don't need a backing plate. Instead, they have a gasket on the under side of the hatch which is compressed by arms under the hatch that clamp the cover against the sole. However, I was nervous about someone jumping on that big deckplate which is supported only by 9mm ply, so I have added backing plates to reinforce the supporting edge.
Unfortunately, the clamping arms dont extend far enough away from the plate for the deckplate to be easily installed with the backing plates in place, and with the sole doubler restricting things as well, so the backing plates leave space for the clamping arms.
I was able to make the larger pieces for the rectangular cutout from the hatch cutout itself, so I didn't have to buy more plywood (yet).
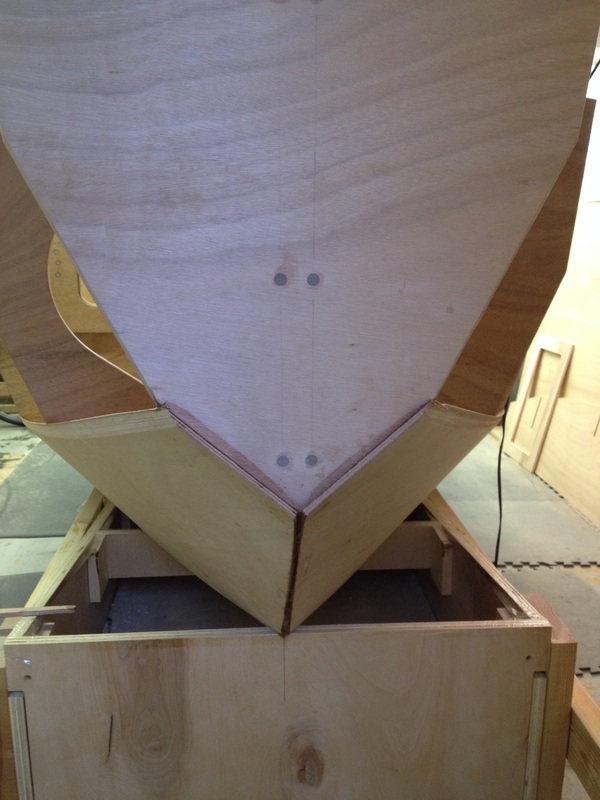
And the port garboard plank is glued in place.
I had to trim the bottom edge of the port plank where it meets the stem, because of the curve in the stem. It would meet the starboard plank at each ends of this joint, but overlapped in the middle.
Adding the plank to bottom fillets and glass tape was interesting. I made it harder for myself, as I later learned. One mistake I made was to apply the 2nd coat of epoxy to the tape a little too soon, as it caused the tape to lift a bit in a few places - made the edges a little lumpy in places. Not too bad, but not a neat and tidy job.
After sanding, the taped joint looks ok I think.
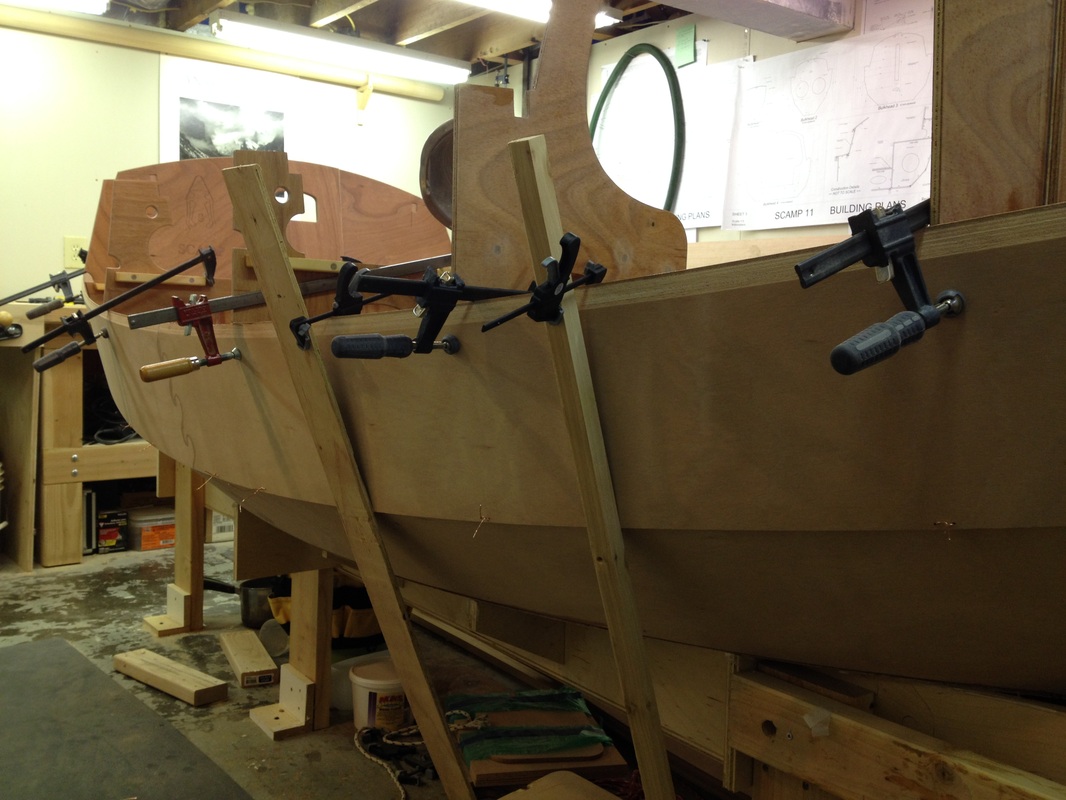 On to plank 2! Here is the dry fit of the starboard plank. You can make out the copper wire stitches I used along the bottom of the plank to pull it against plank 1. I generally used one stitch per bulkhead, with a couple more where needed. And you can see the clamping - the bow end clamping not as difficult as with plank 1, as the plank twist is much less. |  |
Here, you can see the technique I used while gluing the plank in place. Got this idea from Dan (bcbimmer) in Victoria. When finished with the dry fit of the plank, I released the clamps, and cut the wires, from the stern to, but not including, bulkhead 4. The plank hangs free as at left. Then, I can prep, prime with clear epoxy, apply thickened epoxy, and clamp/stitch the plank back in place. Once that is done, I then do the same with bulkhead 4 and forward. The plank stays in place at each step, and this allows a single person to do the whole job easily. I used the same approach on the garboard plank.
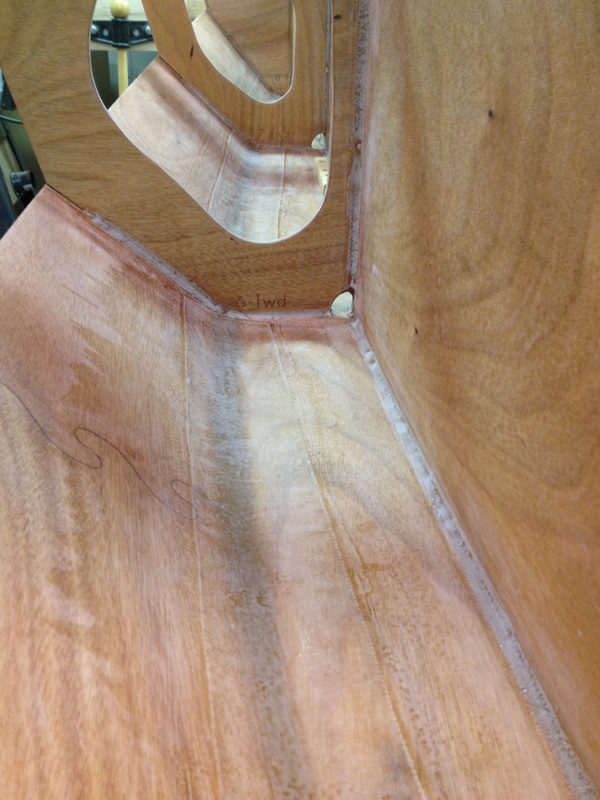
After adding fillets to the bulkheads, and letting them cure, it was time to fillet and tape the plank 1-2 joint. I wanted this to be easier, and to do a better job than the plank 1-bottom joint. I was thinking about using peel-ply, but then remembered something I learned in a technical session at last years PT Wooden Boat Festival.
I applied the fillets (with epoxy mixing help from John Bouwsma - thanks John!), cleaned them up (thanks again John!), and then immediately started on the glass tape. But this time, I applied the fill coat of epoxy with the tape on a scrap piece of ply with a roller. After the weave is filled (and not overfilled), you roll up the tape, carry it to the boat, and unroll it in place (make sure it is cut to the correct length first, of course). Then use the roller, across the width of the tape, to roll it down. At the same time, since the fillets are still soft, the roller will smooth them down and get rid of any tape bubbles at the edge of the fillet. The result is tape laid down nicely with minimum epoxy waste. Works really good.
Then, after letting the epoxy cure for about 4 hours, I put on the 2nd fill coat, and after 3-4 hours, the 3rd coat. The result is above (not yet sanded).

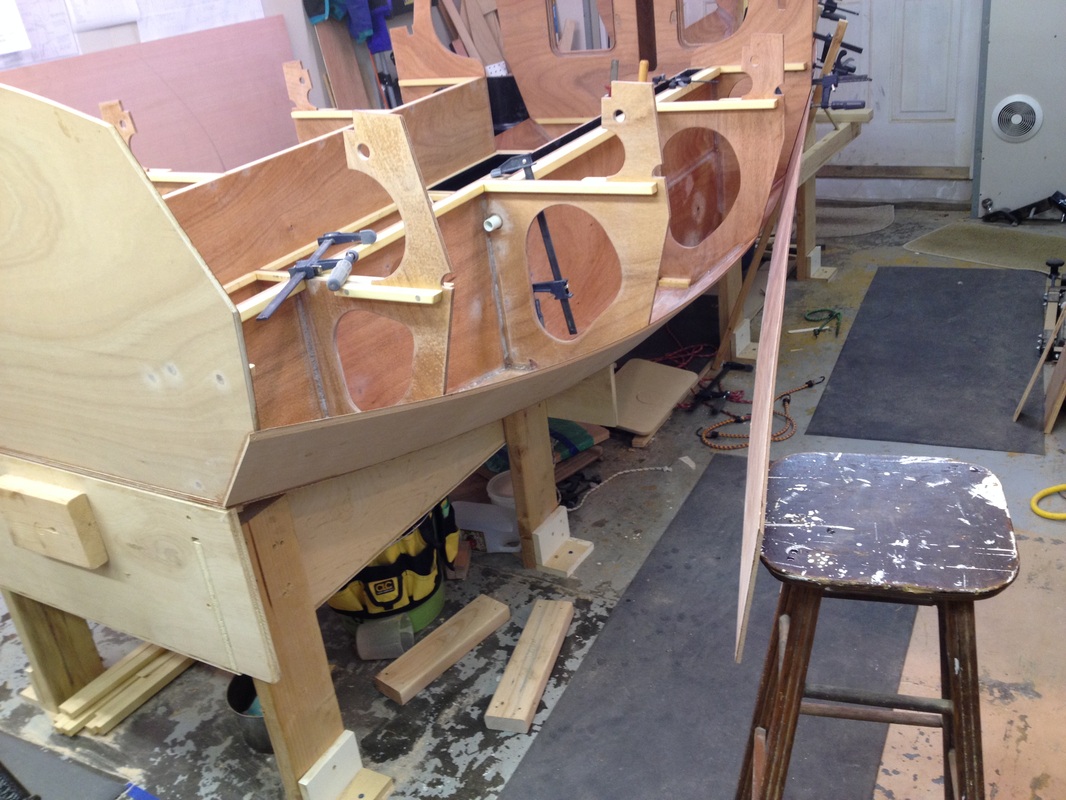
And the port side plank being dry fit. I then glued it in place, and followed immediately with bulkhead fillets, which is all curing as I write this. This saved some epoxy, as I didn't need to clean out all of the squeeze out at the bulkheads from the glue-up, as this became part of the fillet.
 RSS Feed
