
Now that Annie B has a sole, she needs seat tops. But, there are a few things to finish first (there is always something that needs to be done first).
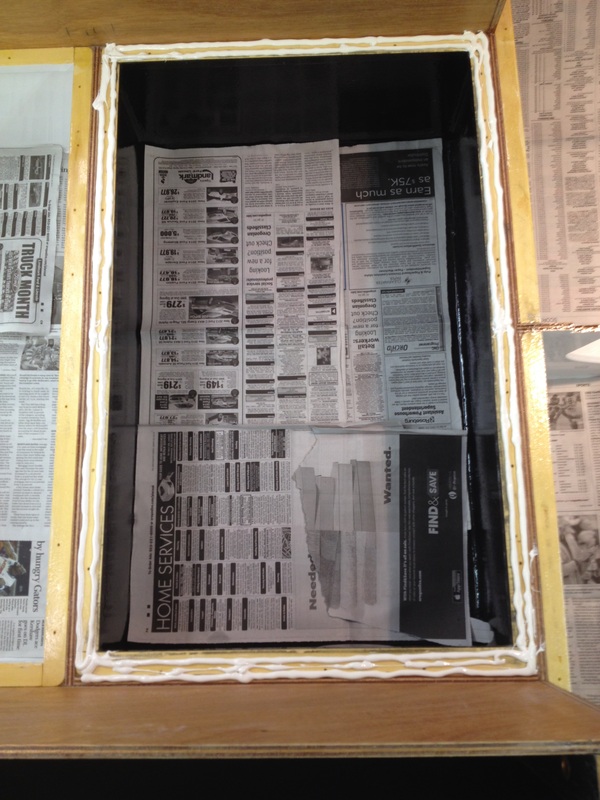
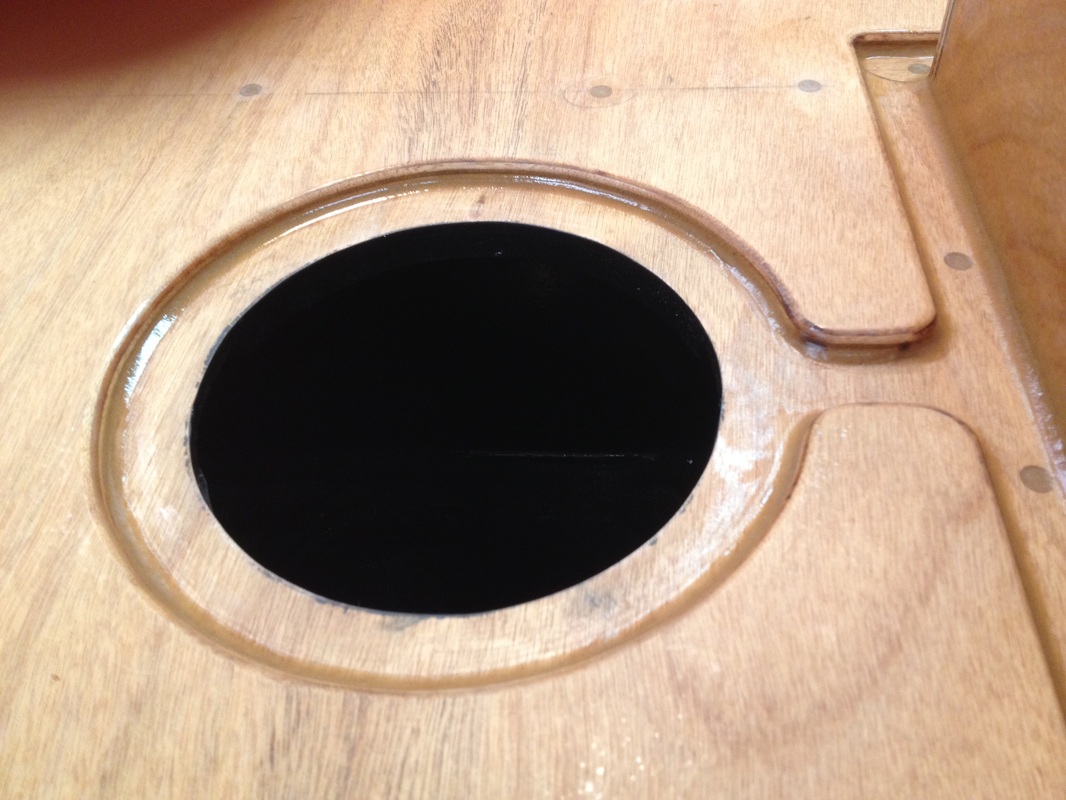
Keith Nasman had a good idea he calls a glove box - a smaller area in the aft-of-B4 area that will hold little stuff that otherwise rattles around. I have one of these in my Potter, and it is very useful. Sort of like the junk drawer in the kitchen. Anyway, here is my glove box, accessed from the B4 hatch which opens into the veranda.
Keith Nasman had a good idea he calls a glove box - a smaller area in the aft-of-B4 area that will hold little stuff that otherwise rattles around. I have one of these in my Potter, and it is very useful. Sort of like the junk drawer in the kitchen. Anyway, here is my glove box, accessed from the B4 hatch which opens into the veranda.
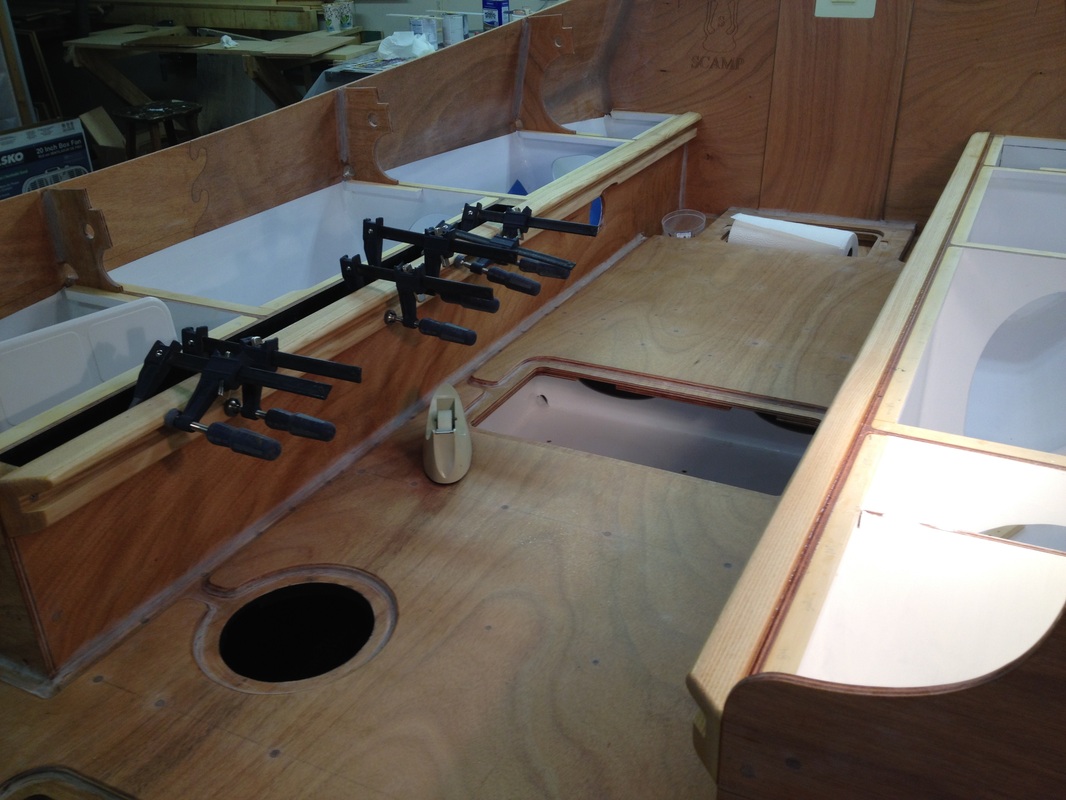
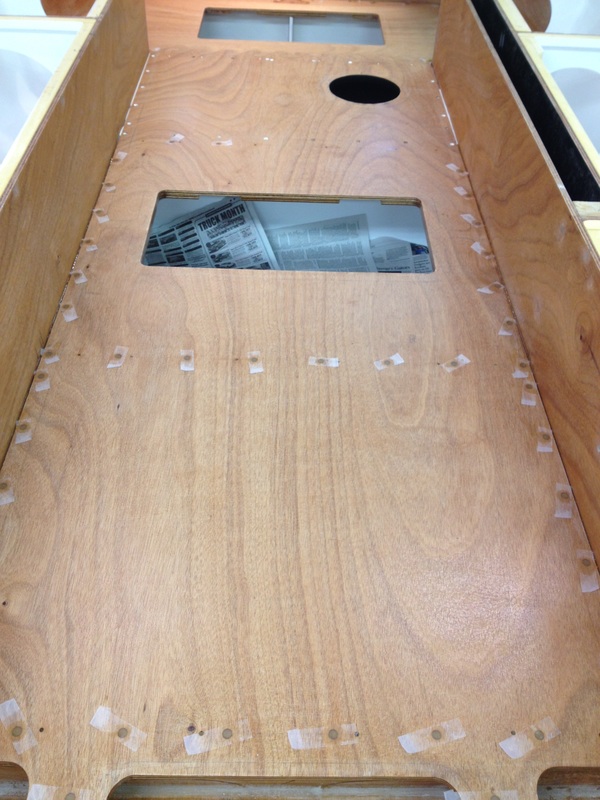
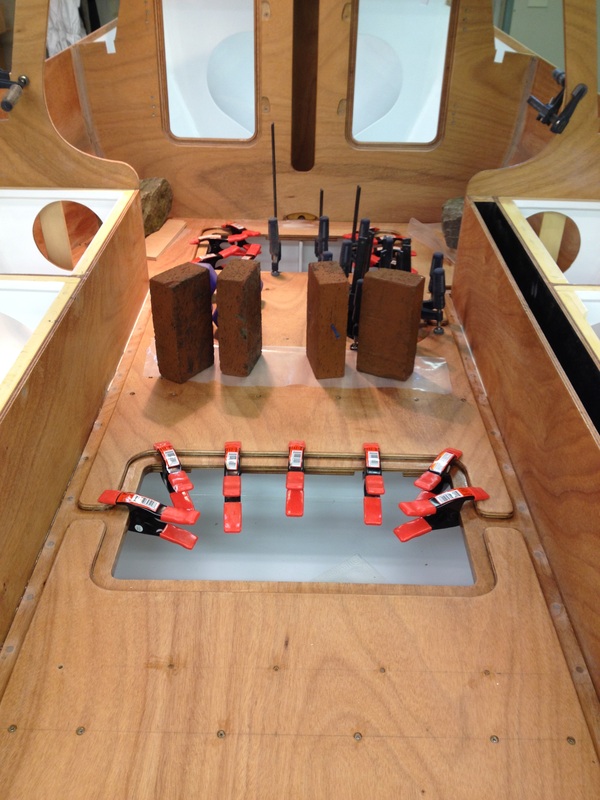
Also, the seat top edges/sliding seat cleats need to be installed. They are mostly held on with screws (and epoxy of course), with the exception of along the centerboard trunk. You can't really see it in this picture, but the port cleat stops just over 18mm short of the stern transom, so that I can later sneak in the two layers of 9mm ply for the outboard doubler.
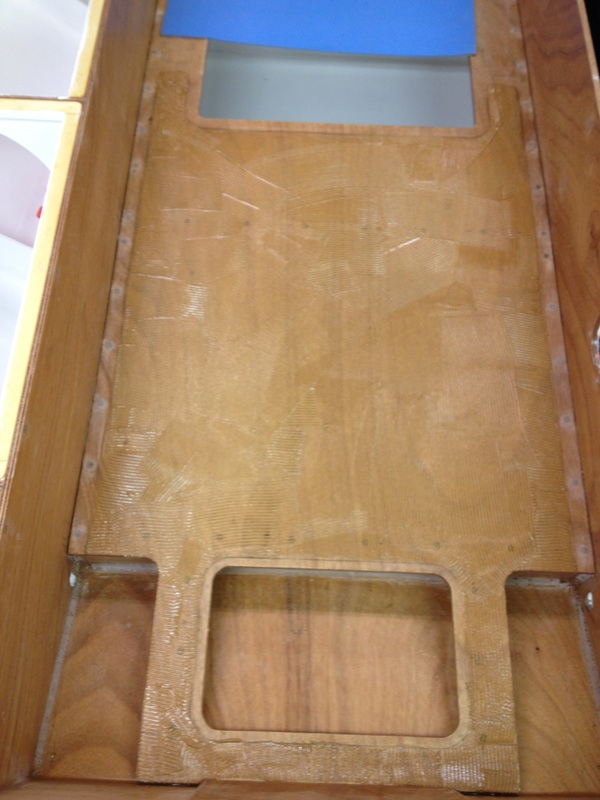
 And finally, the seat tops go on. I did each seat top separately, using a double bead of thickened epoxy on cleats, and single on the inside of the planks, and then filling all of the screw holes. I attempted to make fillets of the squeeze out along the underside of the seat top/plank joint. Neither doing a fillet in a mirror, nor doing one standing on your head is much fun. At right, the starboard seat top fillets have been added. | 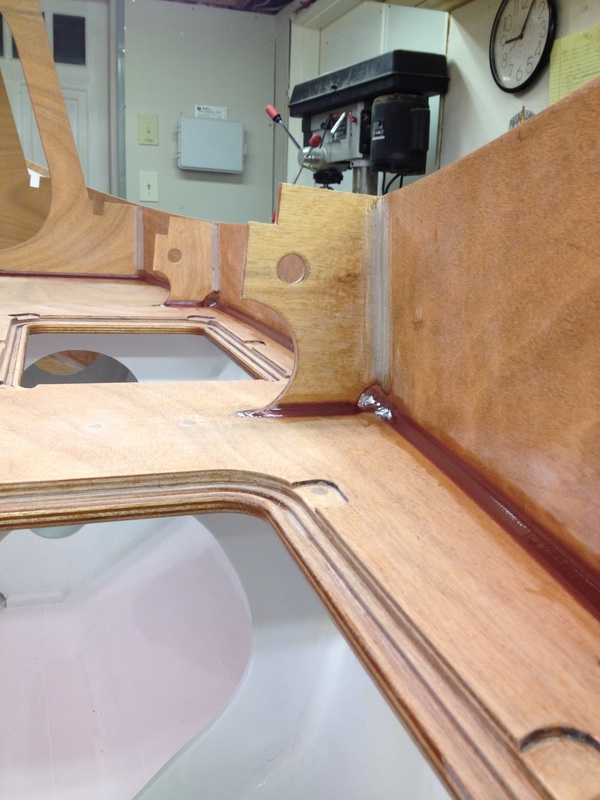 |
I wanted to do a neat job on the seat top fillets, and always struggle with smoothing out the "swoosh" that happens when you need to start the fillet from one bulkhead and then have to stop before you get to the other bulkhead because the fillet stick is in the way.
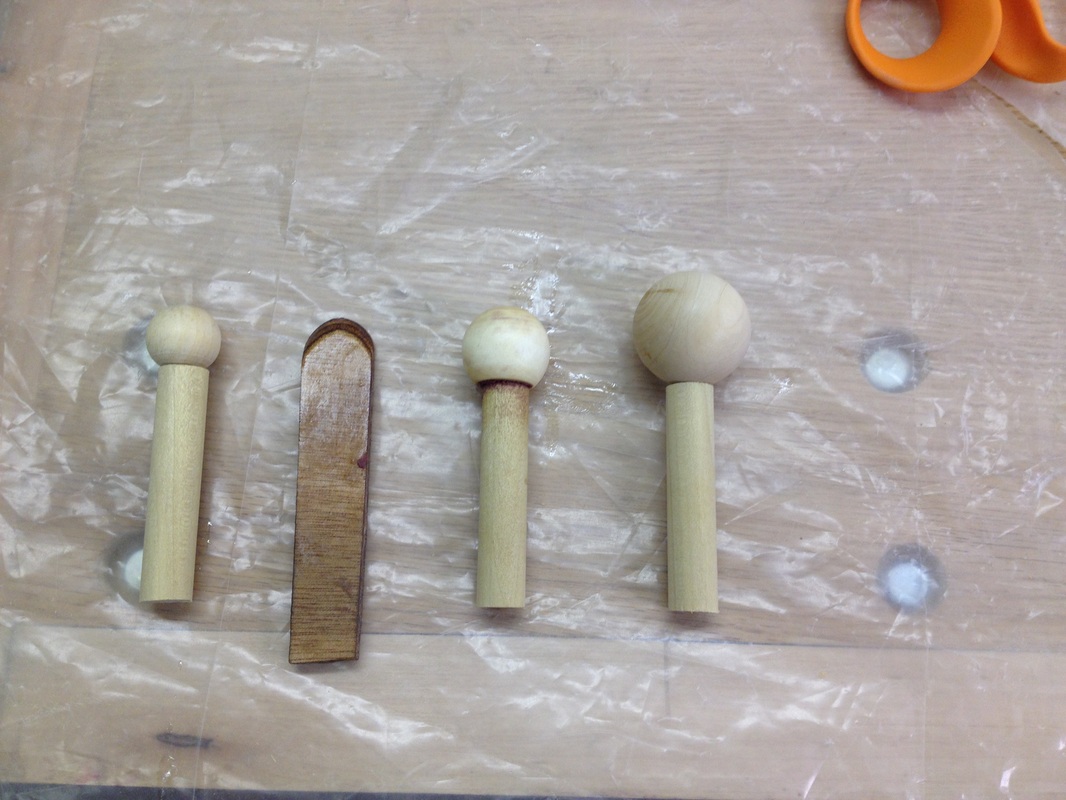
Then I remembered seeing a 1 pager in the latest Small Craft Advisor magazine, which described a spherical fillet tool. I went to the local craft store and bought various size "doll heads" and round beads, and stuck them onto the end of short pieces of dowel. Also shown is one of the standard fillet sticks I have been using.
I used the middle one for the seat top fillet (1" diameter doll head) and it worked really well. You can fillet the span between bulkheads without stopping, by merely rotating the "head" as you go along. Pretty slick!
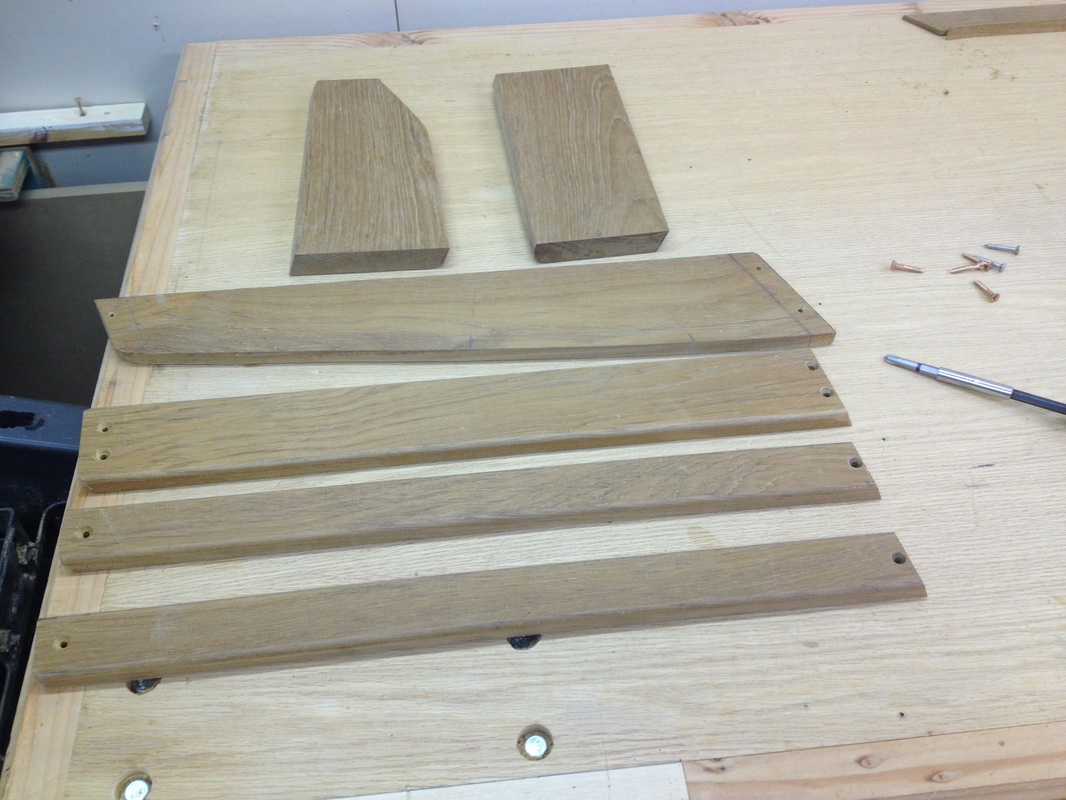 As others have done, I added a book/chart rack forward of B3. I liked Dale Simonson's design, so I stole it - thanks Dale! At left are the various pieces for the shelf, and installed at right. I used some left-over teak, and want to just put an oil finish on it (or I may leave it bare wood). Turns it, you have to be VERY careful to not get epoxy where you don't want it in a situation like this. It is amazing where epoxy shows up - on the plastic on the bench top, on your gloves (natch), too much squeeze out, etc. Wiping with isopropyl alcohol took care of most of the boo-boos, except in the end grain. | 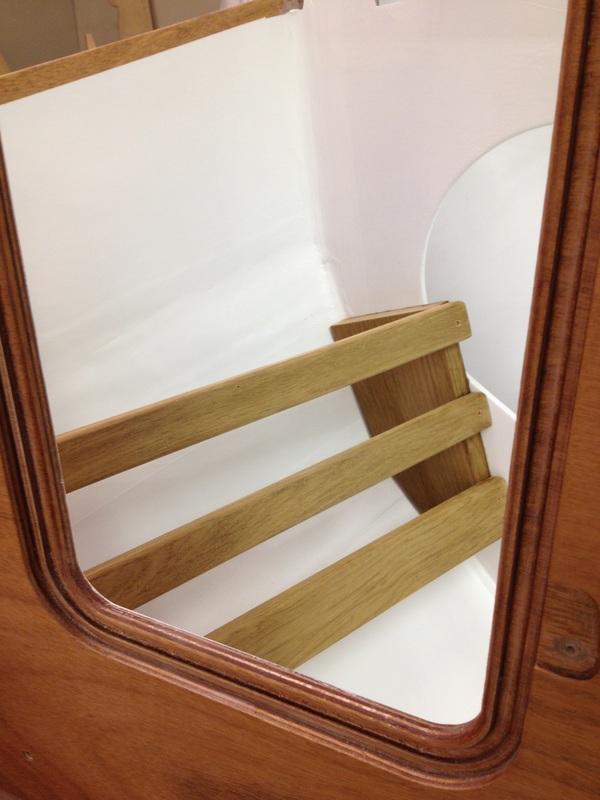 |


 RSS Feed
