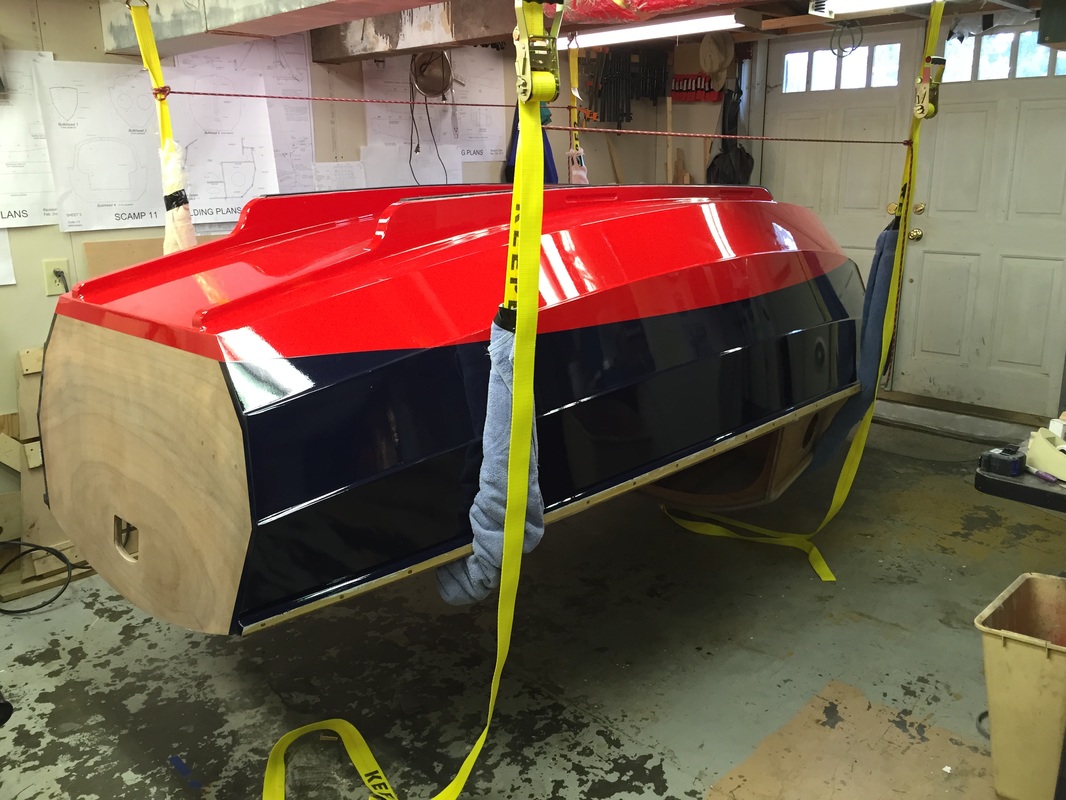
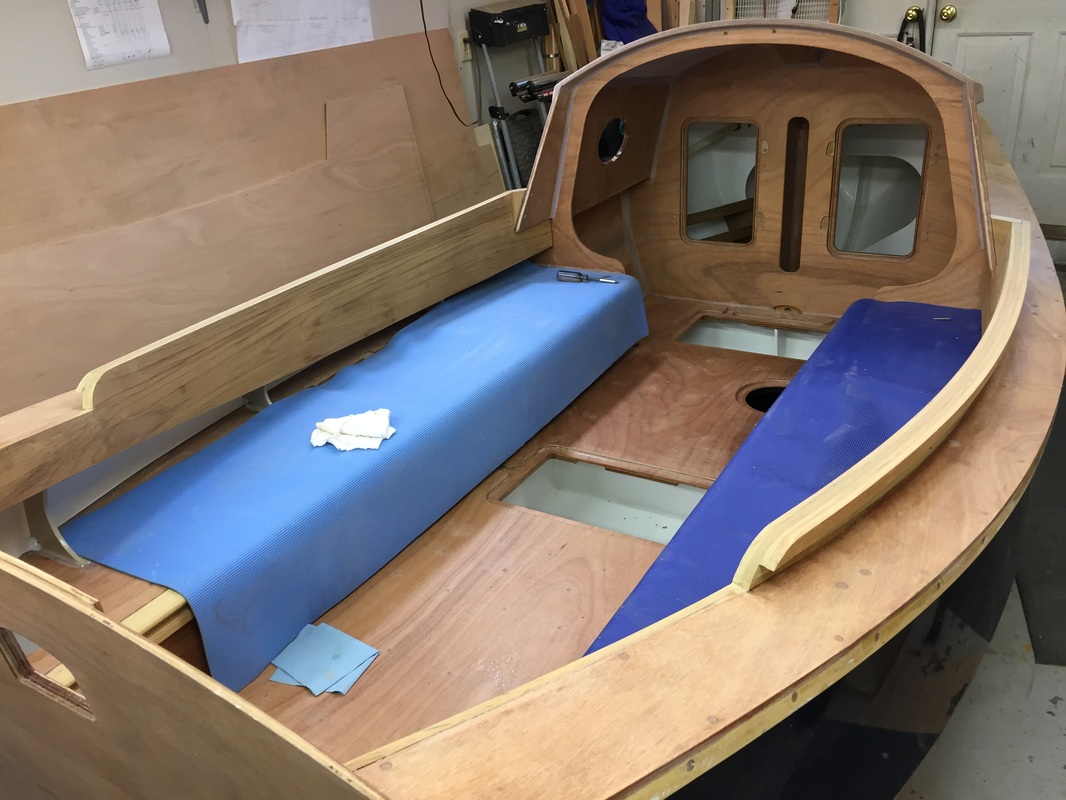
 | Well, this is the long overdue post, but between trying to make progress and the on-going kitchen remodel, time has been short for documentation. Unfortunately, I didn't get any shots of turning her over, but here is the before picture. 4 friends helped lift and turn, to avoid rubbing the straps against the not-yet-quite-cured topsides and bottom paint. All went well with no surprises. She is sitting on her skegs, on a sheet of plywood. It sure is nice to see her from this perspective again, and to be able to climb in and out of the cockpit much more easily than when she was on the building jig. |
 | It will be very hard to paint the back of the top plank after the coamings are installed, so I did this before. |
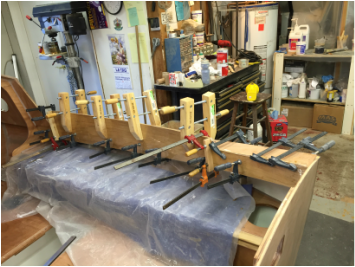 I am installing teak coamings, in two layers. The first layer being glued in place above, and the 2nd layer at right. The pieces are 10mm thick, and probably could have been bent without steaming, but it was much easier to steam the first piece. So, I built a steam box, and let it sit clamped in place for 24+ hours before gluing in place. I covered the good side with packing tape, to avoid getting epoxy fingerprints. It is cut a little large, and will be trimmed down later. |  |
 |  |
At left, the coaming trim pieces (again, two layers of 10mm thick teak) are being glued in place. And at right, trimming of all 4 layers has been completed (save some end shaping). I used a top bearing router bit, using the original plywood coaming from the kit as a guide for the first pass, then subsequent passes registered on the previous cut. I cut and installed turn-in blocks from teak as well. These are screwed and glued to the coaming and the cabin sides.
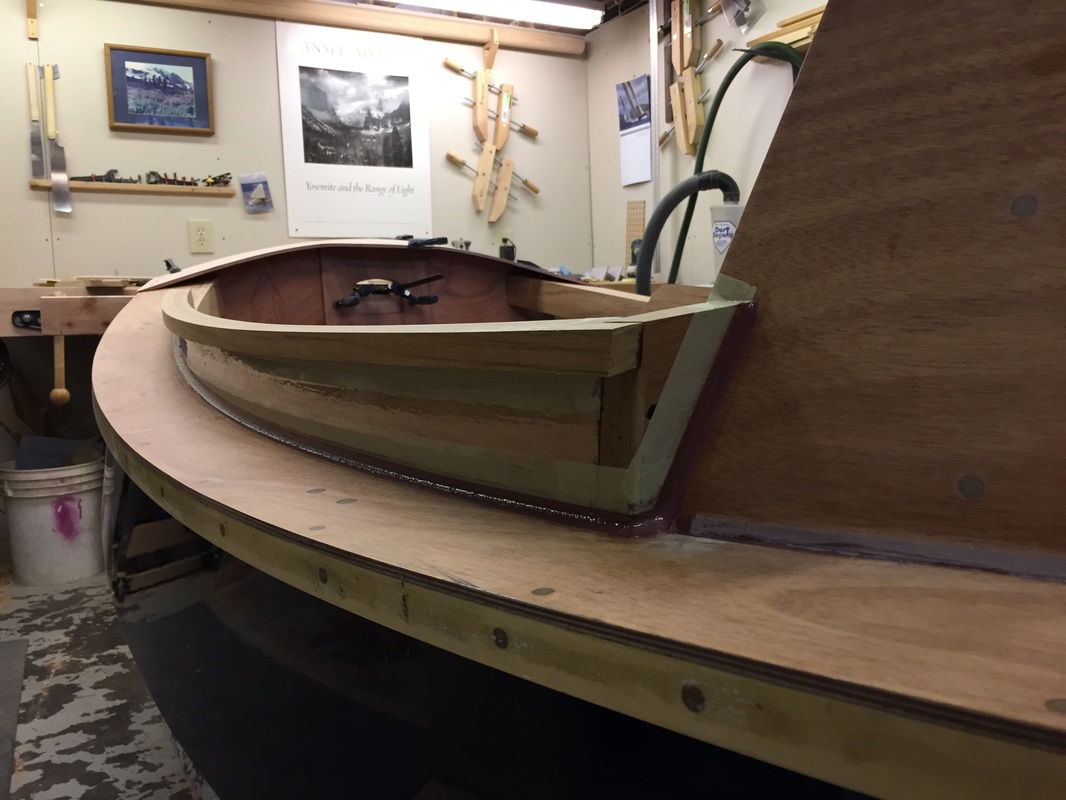
 | Here, the transom cap is being glued in place (or actually, I think this is a pic of the dry fit). In addition to the clamps, I put 3 screws into the gunwale at each end of the cap. You can see that I have shamelessly stolen an idea from Simeon Baldwins NODDY - extending the cap to provide support for a mast crutch. Holes will be cut after the doubler is glued in. |
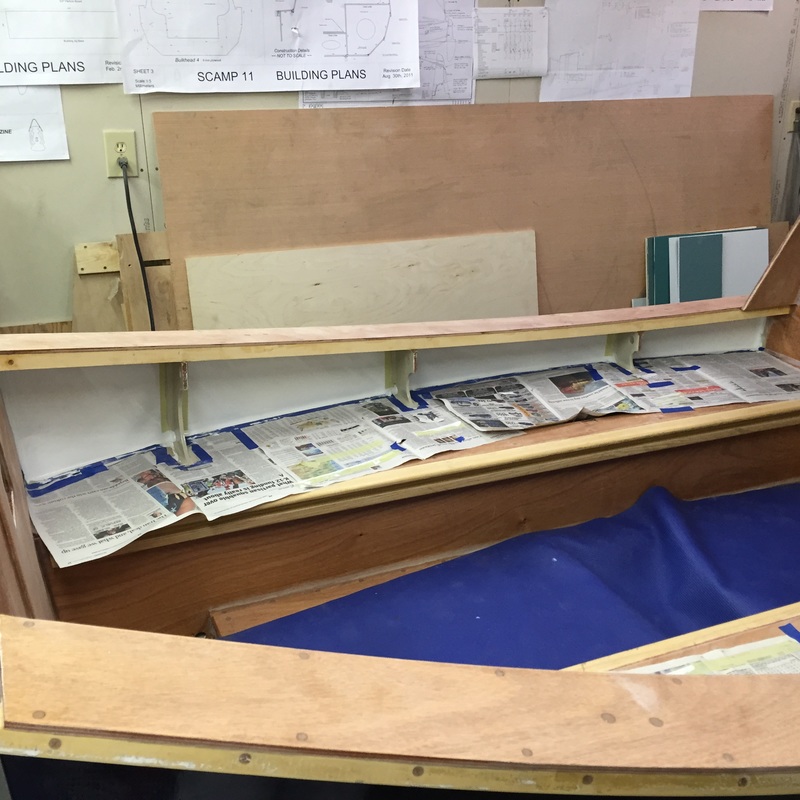
 | Here you can see the coaming turn-in piece a little better. And the coaming to deck fillet. I don't normally mask off for filleting, but in this case I want to limit epoxy on the teak to just the fillet area. |
| And here again is another stolen idea - this time from Dale Simonson, who wrapped a dowel in packing tape to act as a dam for filling the transom cap/deck joint with thickened epoxy. | 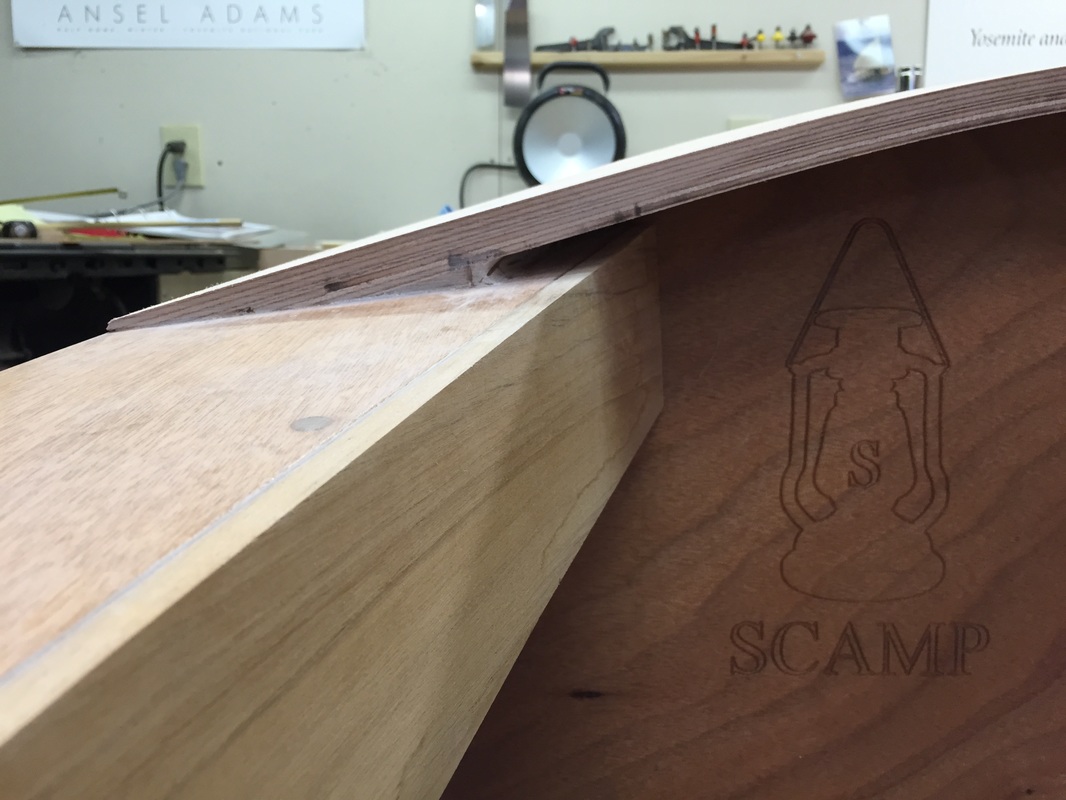 |
 | Fitting the pintles and gudgeons to the rudder head. Thanks go to Dave (woodnmetalguy) for the idea to use a rod to aid alignment - though I had to buy a piece of steel rod, didn't have an arrow shaft laying around. But, this really helped. I used the same rod to align the rudder gear on the transom. I also had to file the back of both parts to align the hole with the back of the part. which were not quite parallel as delivered. |
 Above is the first of the two transom doublers, for an outboard mount. I won't be installing an outboard initially, but I wanted to allow for it. At right is the 2nd doubler piece being glued in place. You can also see the epoxy filled over-drilled holes for the rudder gear, which I later drilled out. Yes, I got to carefully align and drill the 8 holes for the rudder gear on the transom not once, but twice. |  |
 | I have now, I think, finished applying epoxy and wood pieces to the hull, so it is time to start painting. While I wait for the latest epoxy to cure, I decided it is time to start applying the multiple layers of varnish to the transom. Here she is after 4 coats (so far) of Interlux Perfection Plus. |
 RSS Feed
