I haven't worked on my SCAMP project since June - several backyard projects were completed (one more than I planned, which is a first), the chickens are in the new coop, and just started laying a couple weeks ago. Atta-girls!
Also, I have been thinking about several decisions to be made for my SCAMP - color scheme, additional modifications I might want to make, name. Still not sure about color, I do have some ideas for a few mods, but I have decided on her name.
SCAMP #124 is no longer nameless - she will henceforth be known as ANNIE B (for my wonderful wife, who hardly ever complains when I disappear into my shop). This continues the theme of naming boats after women in my (or others) life - my West Wight Potter IDA MAE is named after my mother, and my Melonseed Skiff SKYLARK is named partially for the previous owners wife Skye.
So, lets see - where did I leave off in June? I had finished prepping the forward bulkheads (sanding, epoxy coating, installing hatches in B3, build mast trunk), and was about ready to install them.
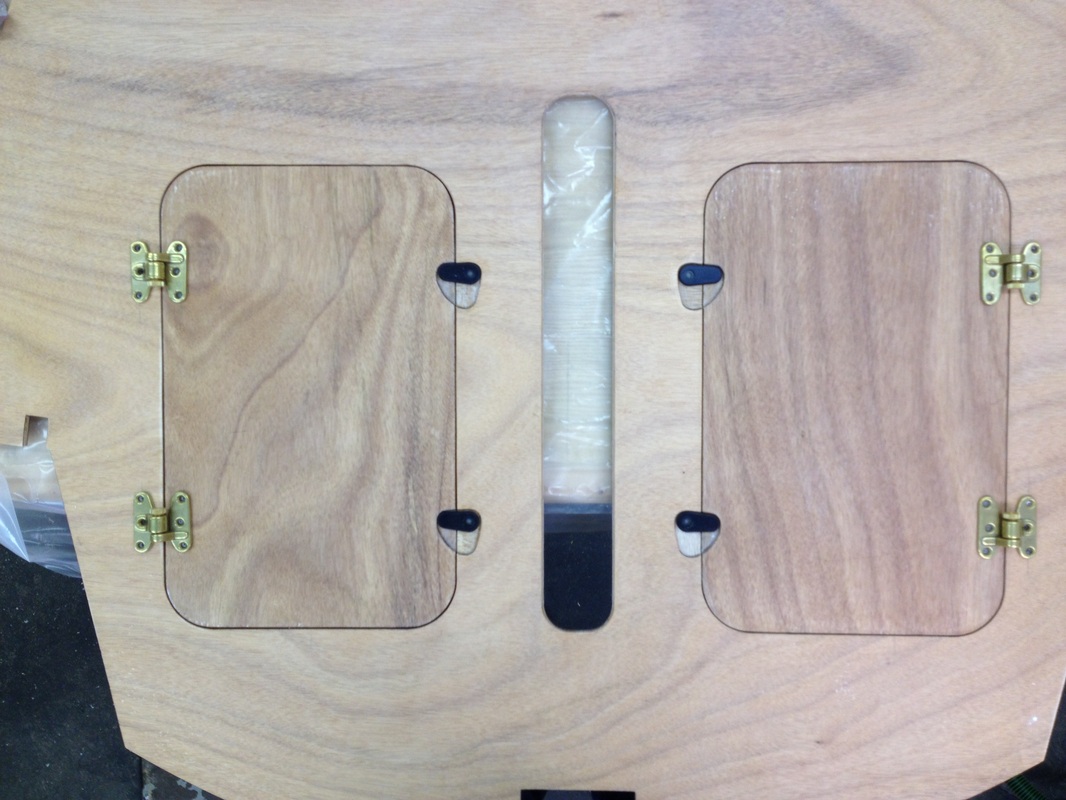
This is how the B3 hatches turned out. I sprung for some nice bronze hinges, and stole Dan (bcbimmer)'s idea for recessing the hatch cover cams, since I will be putting some of these on the seat tops as well.
First task was to glue the mast trunk to bulkhead 3. I had built the trunk separately, which really made fileting much easier. But, now the tricky inside filets needed to be done. I was able to do these mostly through the opening on the aft side of B3, and they turned out passable. At the left, the trunk has been glued to B3, and the outer filets done.
I also had neglected to glass the part of the trunk that will extend above the veranda roof, so I did this first. I decided to try using peel-ply for this, and it worked really well. Only had to apply epoxy to the glass once, and it came out real smooth. I'll be looking for other places to make use of peel-ply.
I also had neglected to glass the part of the trunk that will extend above the veranda roof, so I did this first. I decided to try using peel-ply for this, and it worked really well. Only had to apply epoxy to the glass once, and it came out real smooth. I'll be looking for other places to make use of peel-ply.

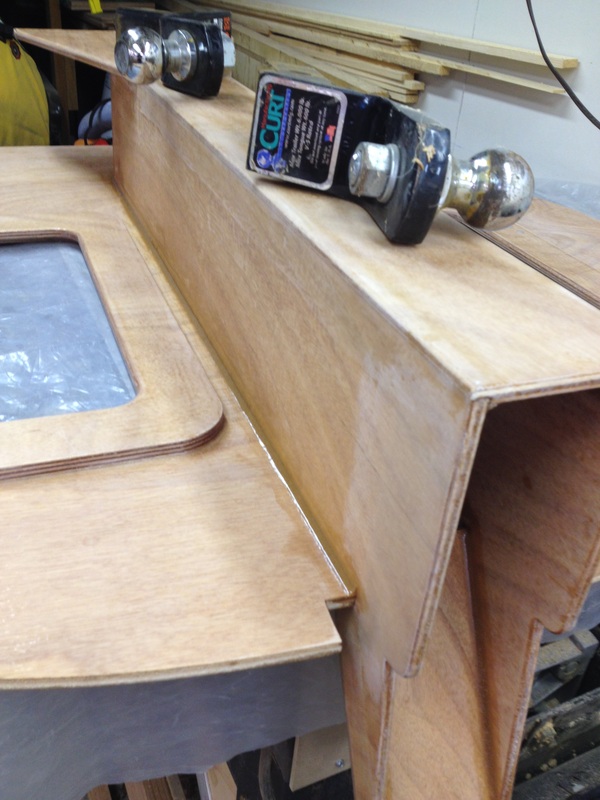
Started to dry fit the stem, and B3 and B2. Right away, I discovered a problem with the stem. I don't know if you can see in this pix, but the tabs at the bottom of the stem didn't quite line up with the slots in the hull bottom. After much measuring, I finally discovered that when I installed bulkhead 4 (B4) onto the hull bottom, I had neglected to check it for straight athwart-ship. Turns out that the center part of the bulkhead is forward of the outer ends - that is, the middle is bowed forward. By about 3-4mm, which means the stem is forward by the same amount. The solution was to trim 4mm from the aft end of the stem. The sole piece between B3 and B4 has a couple mm gap to B4 at the outer edge as a result, which will be covered over with epoxy at a later time.
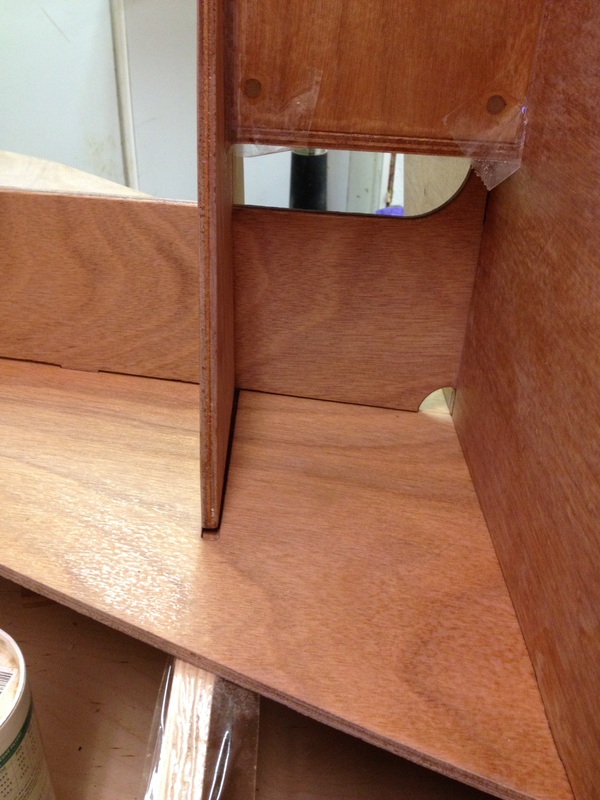 |  |
Another problem I discovered during the dry fit is that the stem I received in the kit has a cut out under the mast trunk that shouldn't be there (pix on the left). Apparently, this was a problem with the kits for a short time that was discovered during SCAMP Camp 2. The trunk bottom should be supported by the stem fore and aft. Howard Rice suggested a fix, which is to sandwich the stem, under the trunk with a couple pieces of 9mm ply (pix on the right). One of many uses of "scrap" plywood I saved from the kit.
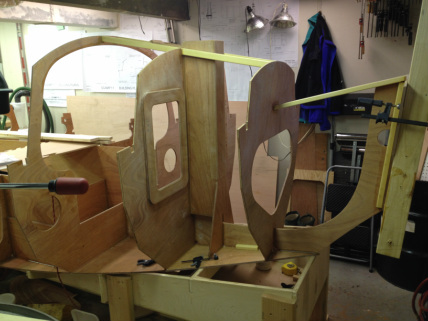
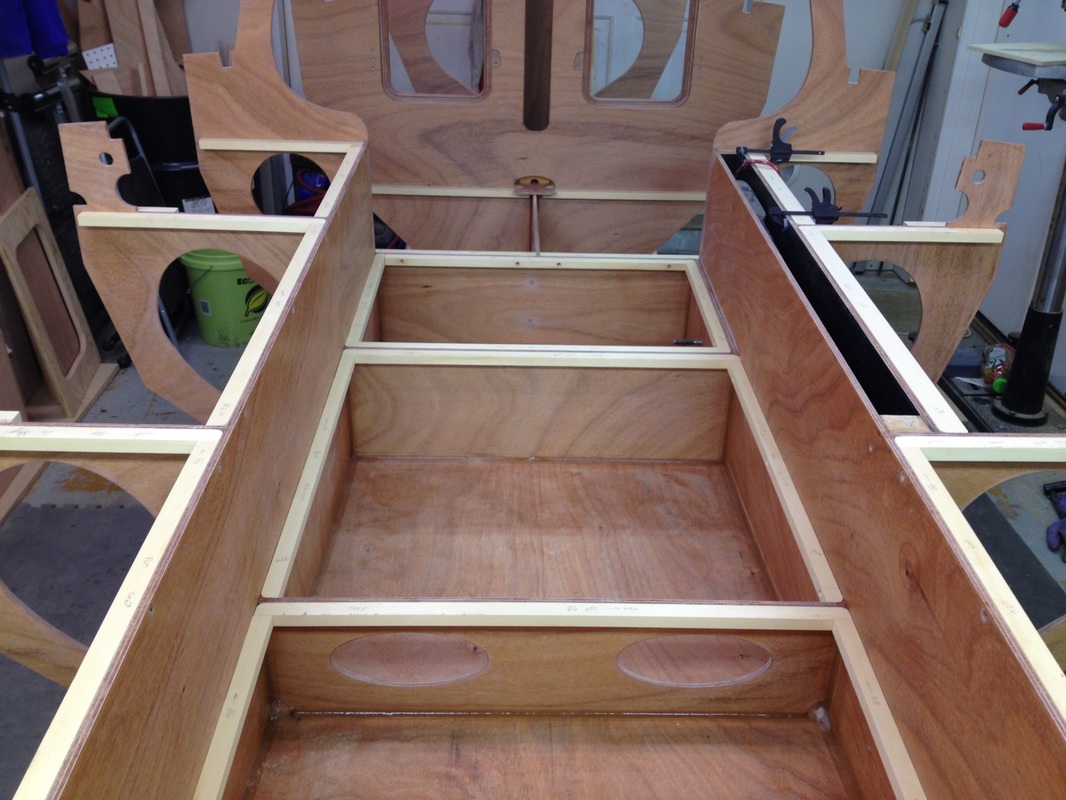
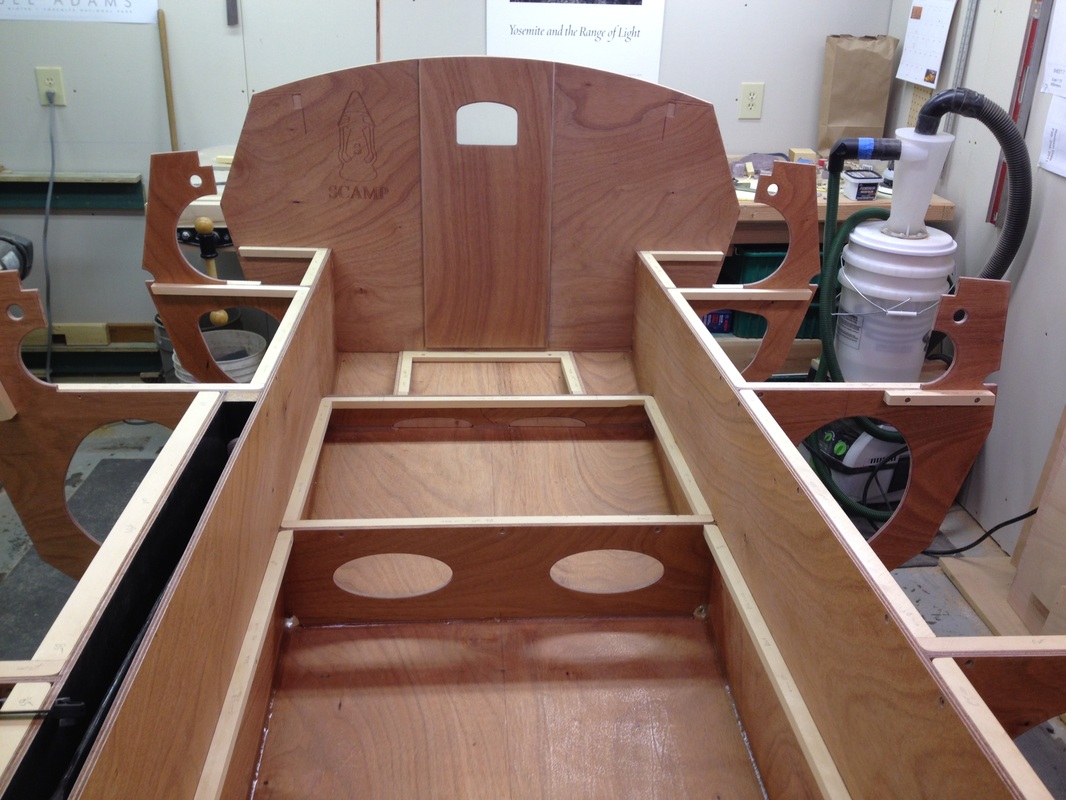
So, with the problems resolved, I could proceed to glue up and fileting of the stem and B3-1. Also, the foredeck and veranda roof beams were glued and fileted. B1, at right in the pix, is not too far from the front door of my shop (which opens out, thankfully), so I screwed a 2x4 to the ceiling joists and clamped B1 to it, to help stabilize it, and to protect it from clumsy builders (the bulkhead, not the ceiling joist)

During the foreward bulkhead install, I got to do more countersinking for screws for cleats. I don't know if the countersink set I got is just cheap, or what, but I had a dicken of a time getting the countersink bit adjustment to not slip, even though there are 2 setscrews holding it. Not so good while drilling a hole to have the countersink part slip towards the drill, resulting in the pilot drill going further into the work piece. I also did not like the metal rings that fit over the countersink part that are used as a depth stop - they tended to mar the surface of the work piece.
So, I solved the countersink adjust problem by cutting a few pieces of 1/2" dowel to the correct length (and drilling a hole down the middle) to hold the countersink bit at the correct distance from the end of the pilot drill. You can see I have ones for 3/4", 1". and 1 1/2" screws. Then I made an selection of "doughnuts" from 9mm and 6mm ply that slip over the countersink bit to act as a depth stop. I have made one thinner one also, by sanding down a 6mm thick doughnut. These two fixes make the countersink bit set foolproof to use, and very easy to adjust.
So, I solved the countersink adjust problem by cutting a few pieces of 1/2" dowel to the correct length (and drilling a hole down the middle) to hold the countersink bit at the correct distance from the end of the pilot drill. You can see I have ones for 3/4", 1". and 1 1/2" screws. Then I made an selection of "doughnuts" from 9mm and 6mm ply that slip over the countersink bit to act as a depth stop. I have made one thinner one also, by sanding down a 6mm thick doughnut. These two fixes make the countersink bit set foolproof to use, and very easy to adjust.

Getting the stern transom ready for installation. Here, the doubler is being glued down. I thought about doubling the entire transom, but decided against it because of the added weight.
CLEATS! Cut em, trim em, drill the holes (love my countersink bit setup now), screw the screws. Here they are looking forward.
 | 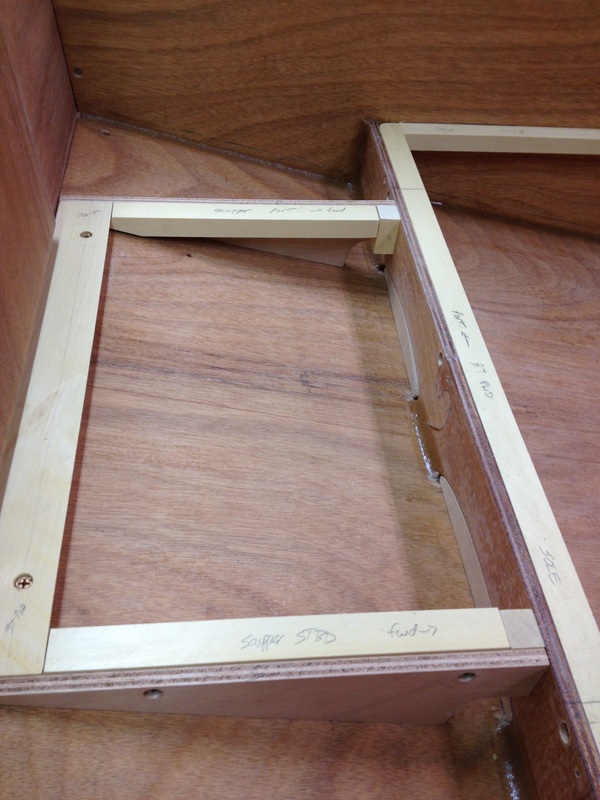 |
And the view looking aft, at left. At right is the area just forward of the stern transom (B8) - I plan to make the entire area between B8 and B7 a wet sump, so I am filling in the lightening holes in B7, and added scuppers in the triangle sole support pieces, to allow water to flow from side to side. I plan to leave an opening in the sole in the central area, so added cleats to the triangular pieces for extra sole support.
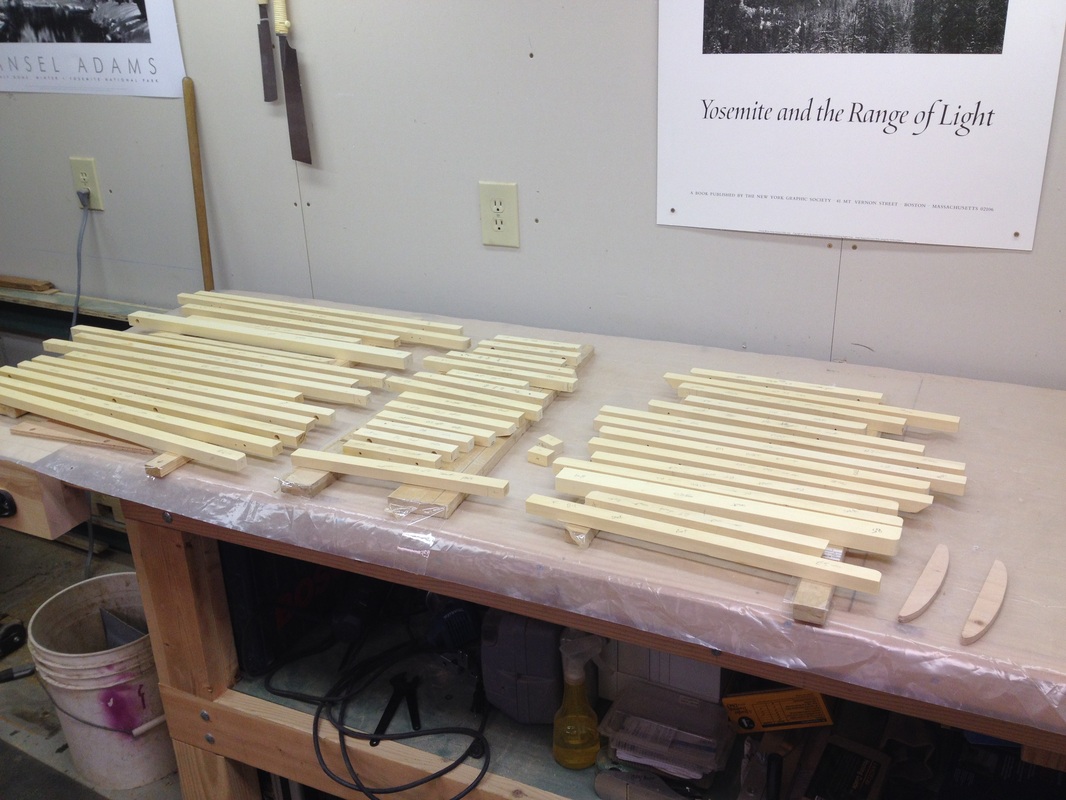
Next up - round edges, sand, and epoxy coat these cleats. Then install them and the stern transom. Getting closer to plank time!
 RSS Feed
