Craig's SCAMP build

More sole prep, painting, and other misc stuff

3/24/2014

4 Comments

 
Picture
This shows peel-ply being used on the port plank 3/2 tape joint. I found that using peel-ply in this fashion results in occasional bubbles in the epoxy.  I am not worrying about these much except in the cockpit, where I will fill them with fairing compound before painting.

The other thing I discovered is that, if the peel-ply fabric is delivered folded, then when you apply it to the wet fiberglass tape, it is just about impossible to get rid of the crease from the fold, resulting in a ridge in the cured epoxy, and more sanding. So, see if you can get the supplier to send it to you rolled.

Picture
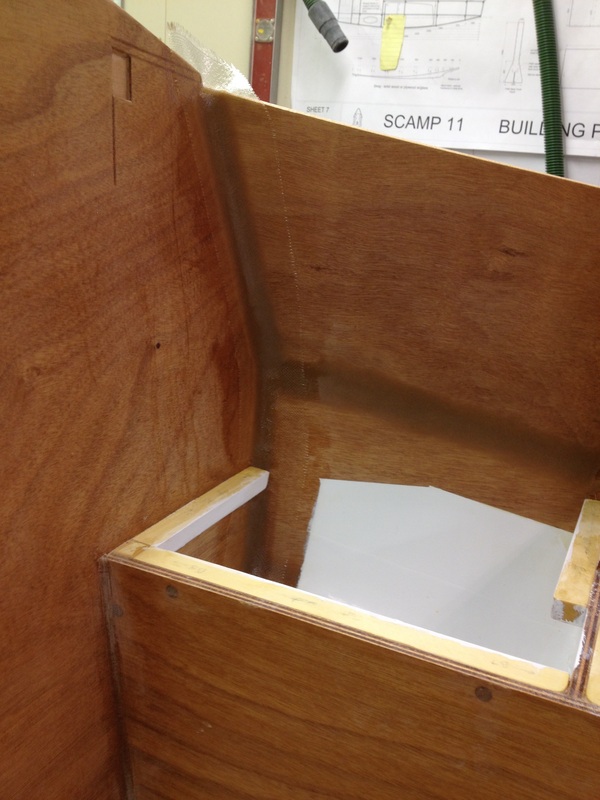
Here is the fiberglass tape after application to the plank/stern transom joint, but before application of peel-ply.

Picture
Picture

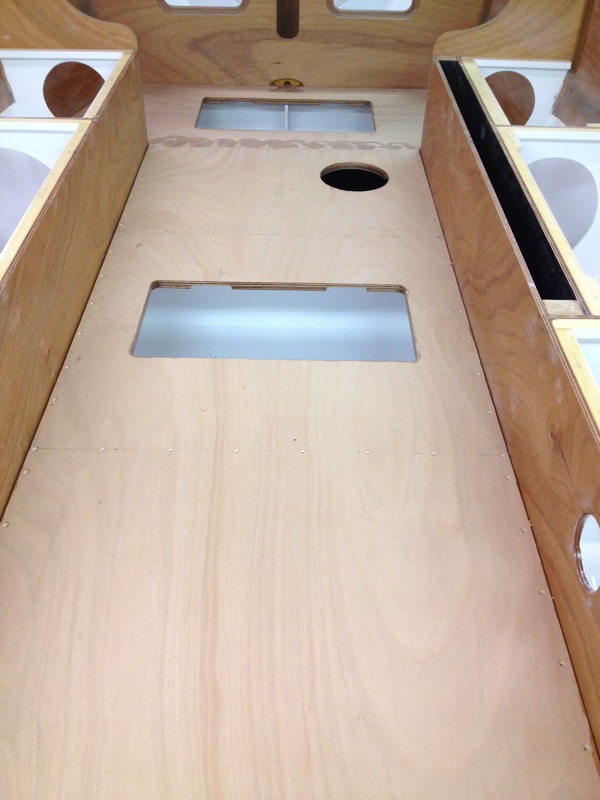
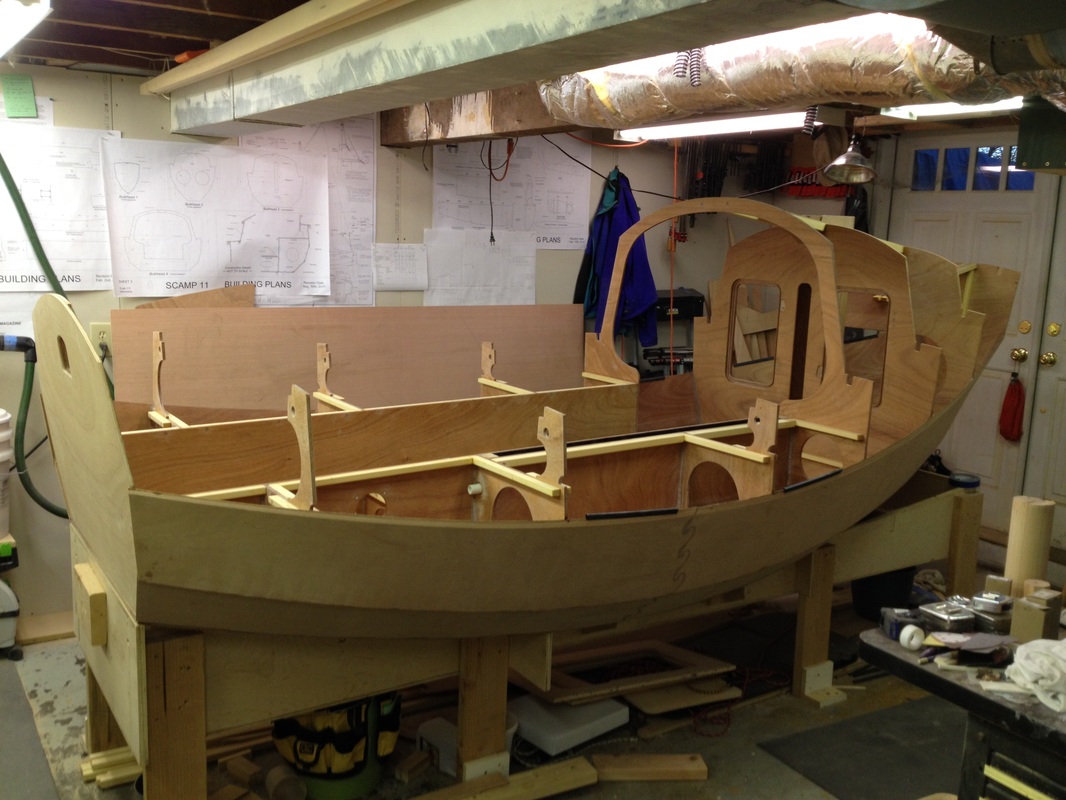
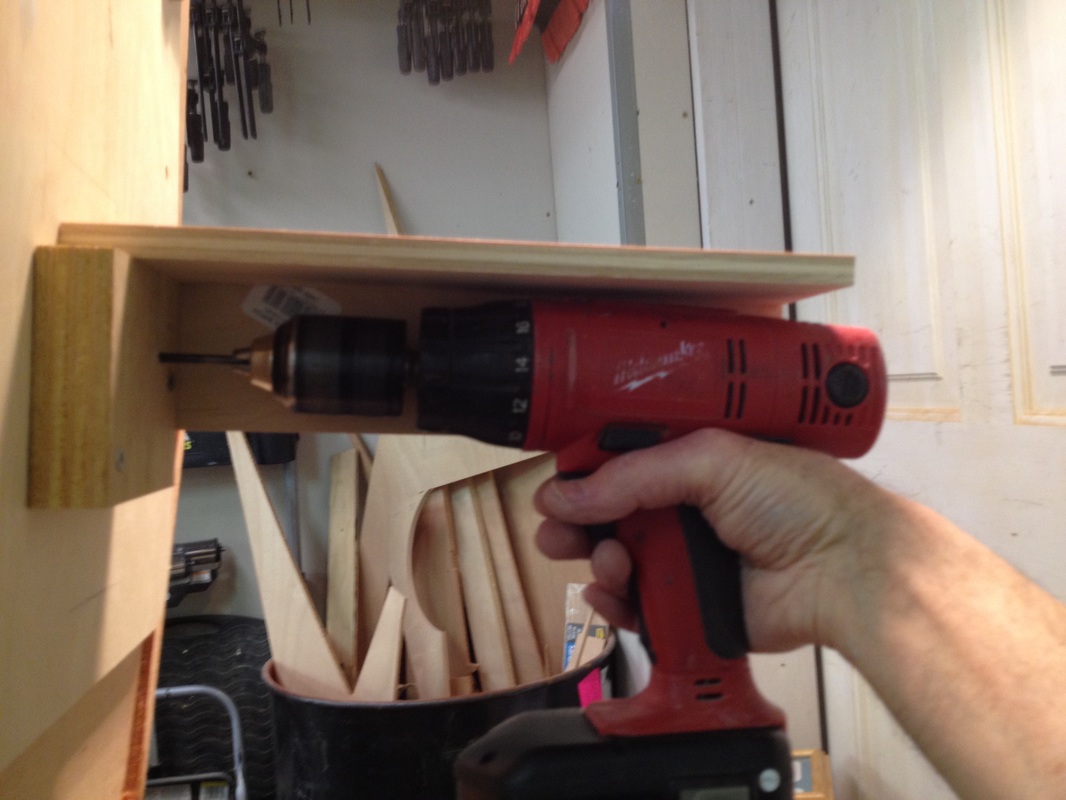
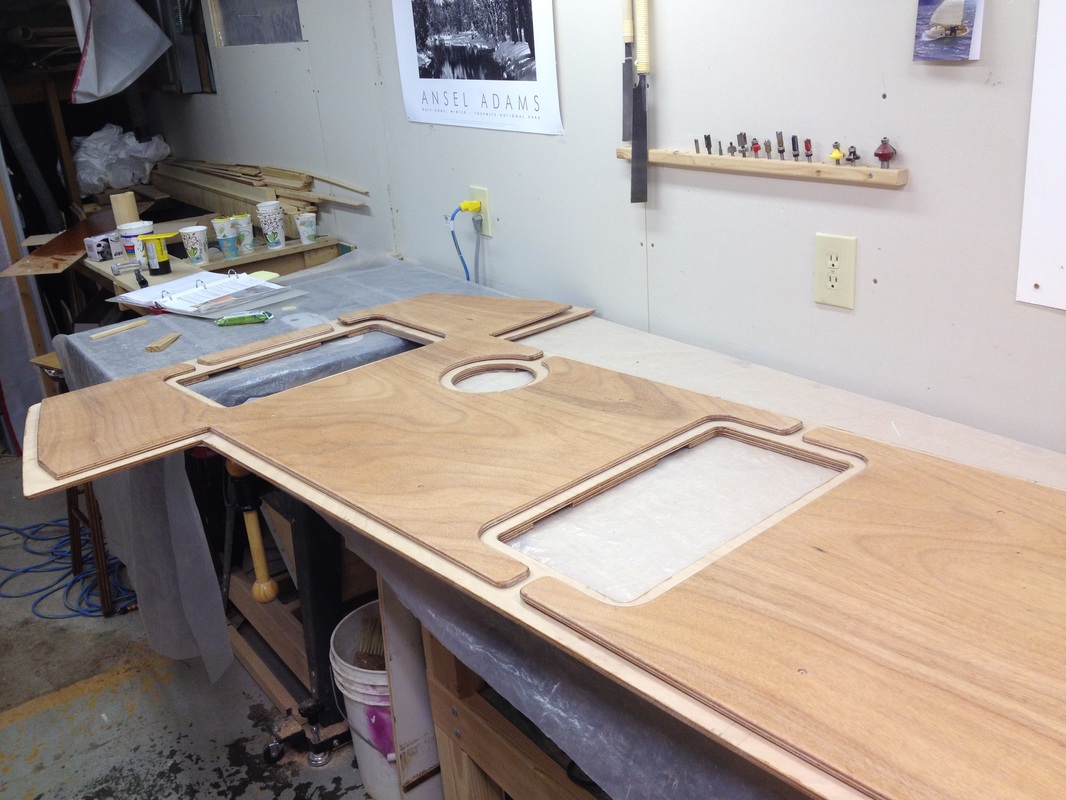
Prepping the sole and doubler by drilling screw holes. I will be using 3/4" for the sole and 1" for the doubler. I might have gone a bit overboard on sole screws - I placed one every 100mm. And I only hit one cleat screw in the process, but that one time broke my countersink bit  ;(  Photo at right shows the doubler (dryfit) in place, and the spot for a non-waterproof hatch cover over the sump area.


Picture
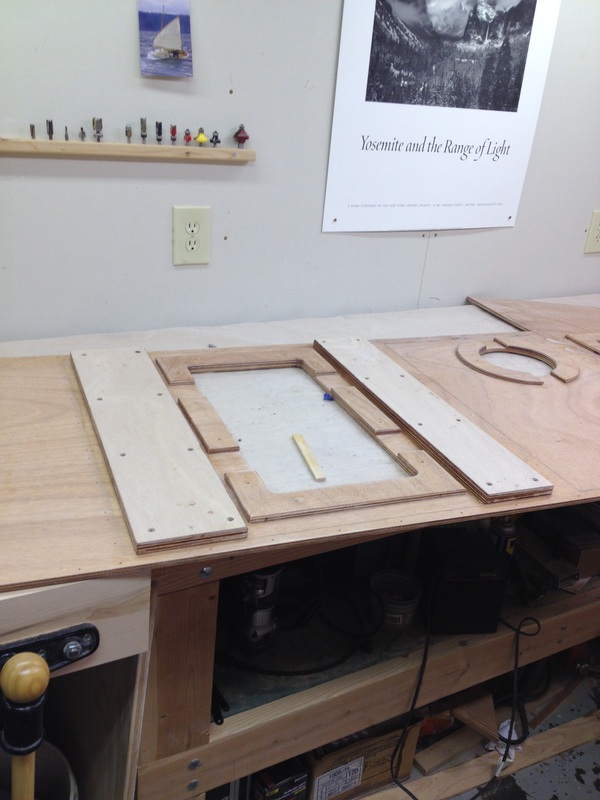
With the sole and doubler screwed down around the area of the large mid-ship hatch, I discovered that there was a bit more flex in the area next to the hatch (specifically, in the middle of the sole adjacent to the hatch) than I really wanted. If there is some flex, the hatch will probably leak. So, I thought I should beef up my sole.

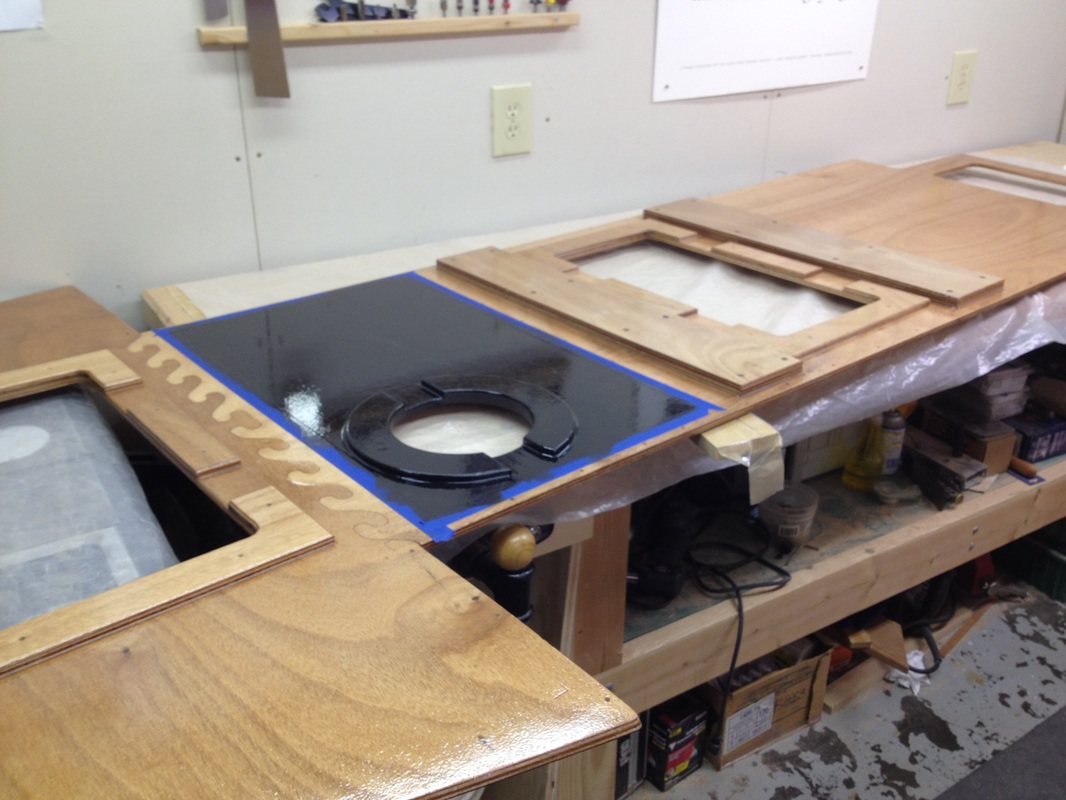
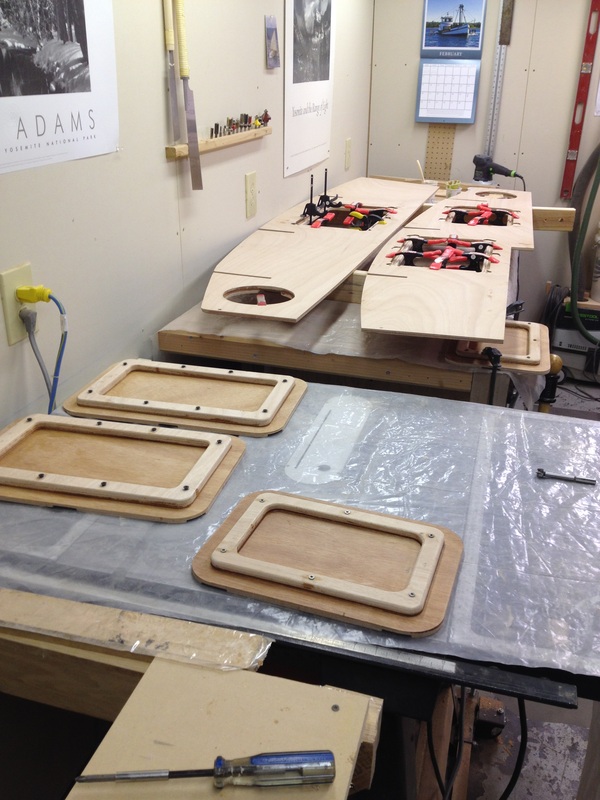
Couldn't find ply scraps that were large enough, so I had to trek down to Crosscut and buy a sheet of 9mm. I would imagine that one 9mm backing piece would have been sufficient, but it would be really hard to add another once the sole is glued down, so I decided to laminate two 9mm pieces together.

These span the entire area inside the cleats, and as close to the hatch opening as I can get them, and still be able to install the hatch cover.

Picture
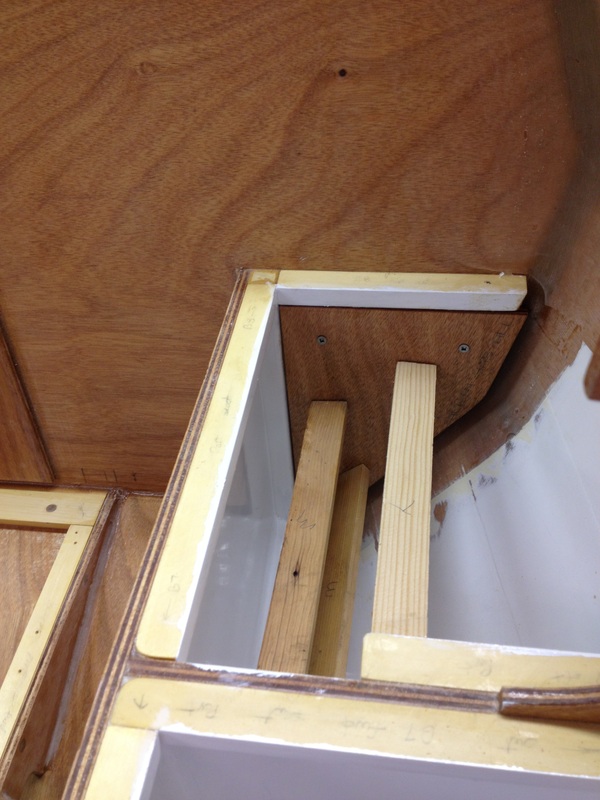
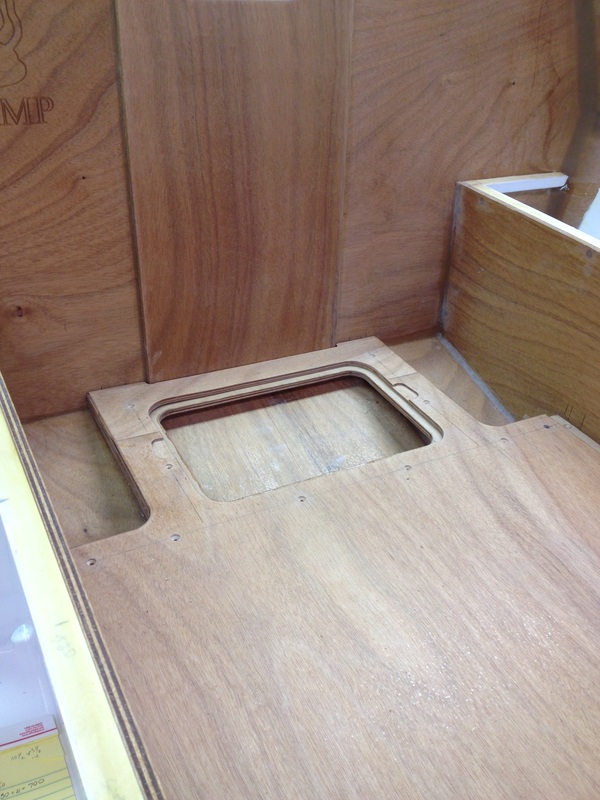
I am going to install a motor mount, for the occasional times when I want to use a motor. Thinking of maybe getting the 2.5hp Lehr, and Dick Herman gave me a lead on a removable motor mount - Trac T10050 and T10053 adapter plate.

So, here is the underseat motor mount doubler - two pieces of 9mm ply (the building manual calls for an 18mm doubler).

Picture
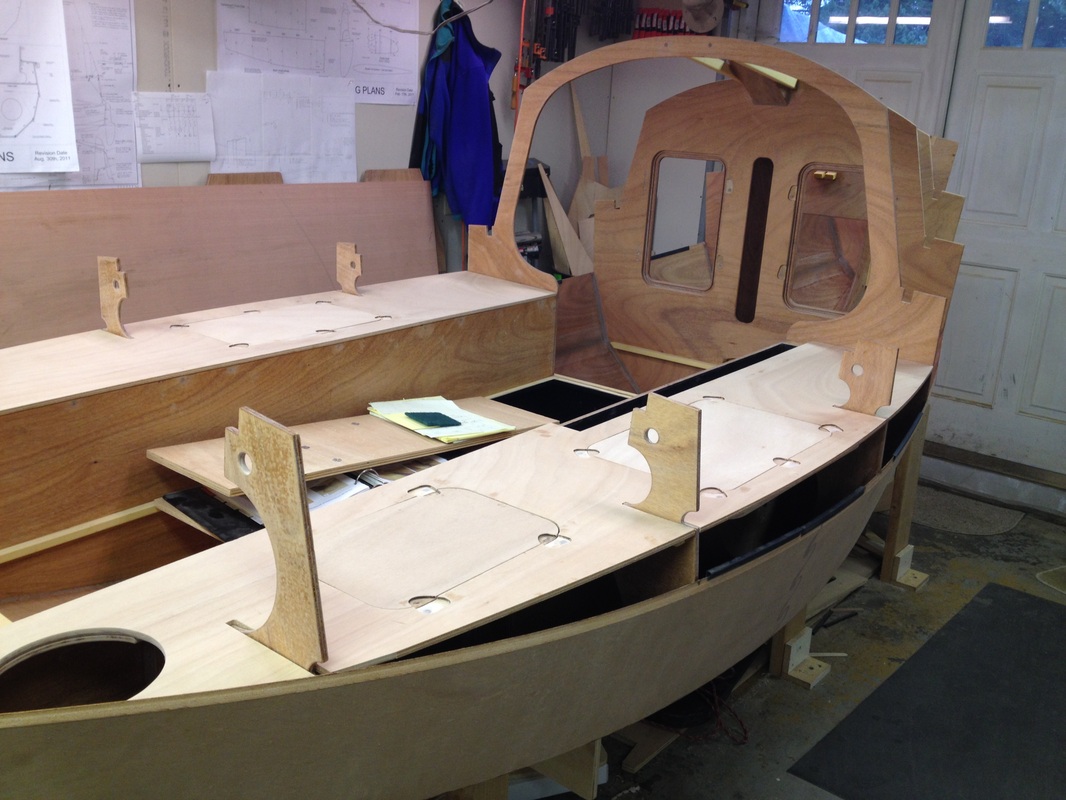
Sole almost ready to install - 2nd and 3rd coats of epoxy have been applied on the underside, and I put an additional 2 coats of epoxy with graphite powder on the area over the ballast tank - I held it back about 1/4" from where the cleats contact the sole, so that the graphite won't interfere with adhesion to the cleats (I plan to use 5200 around the ballast tank).

Picture
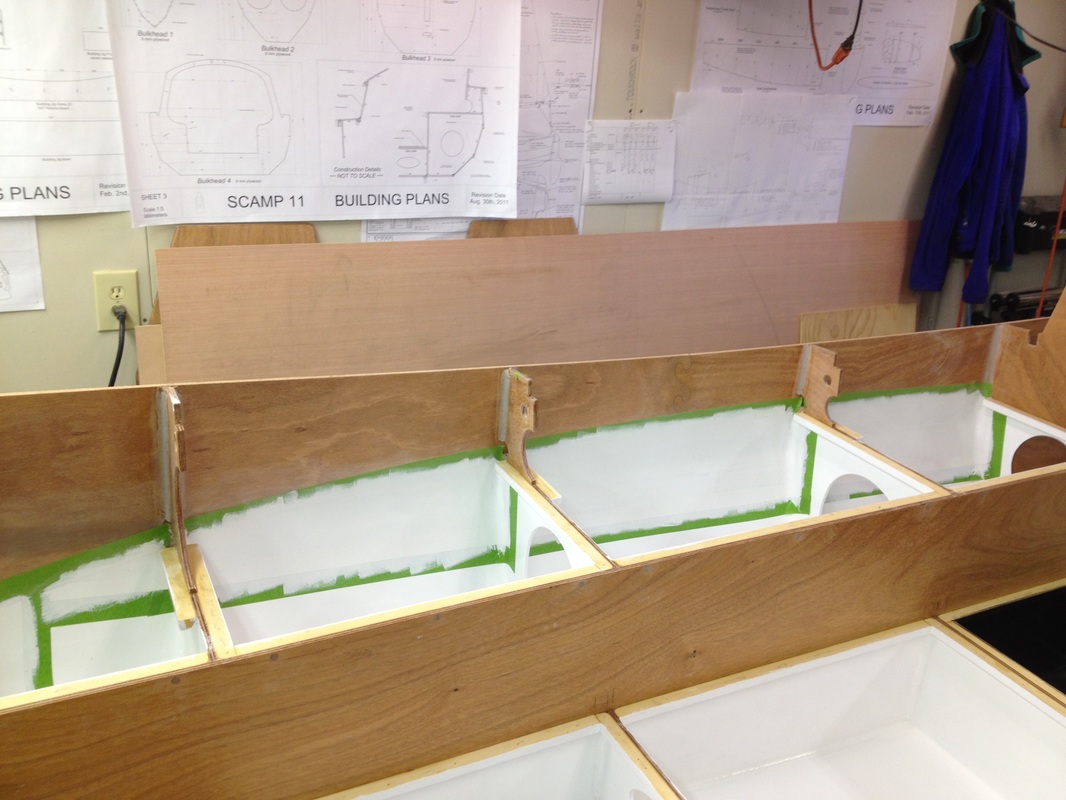
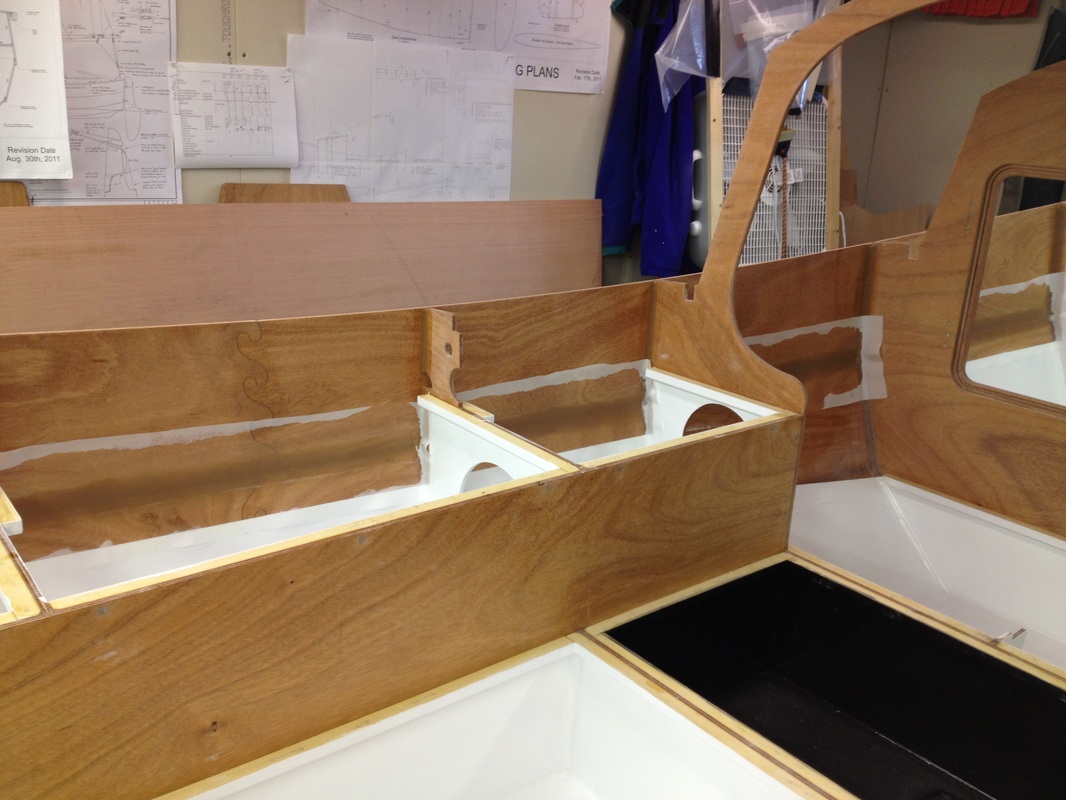
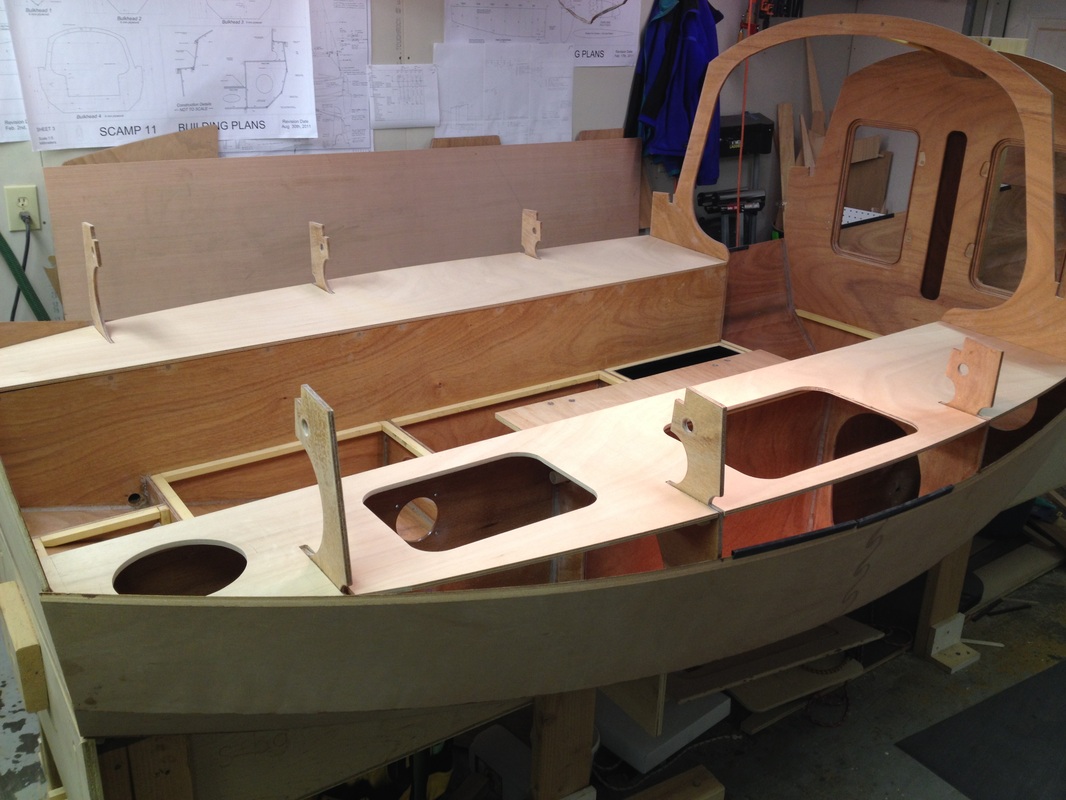
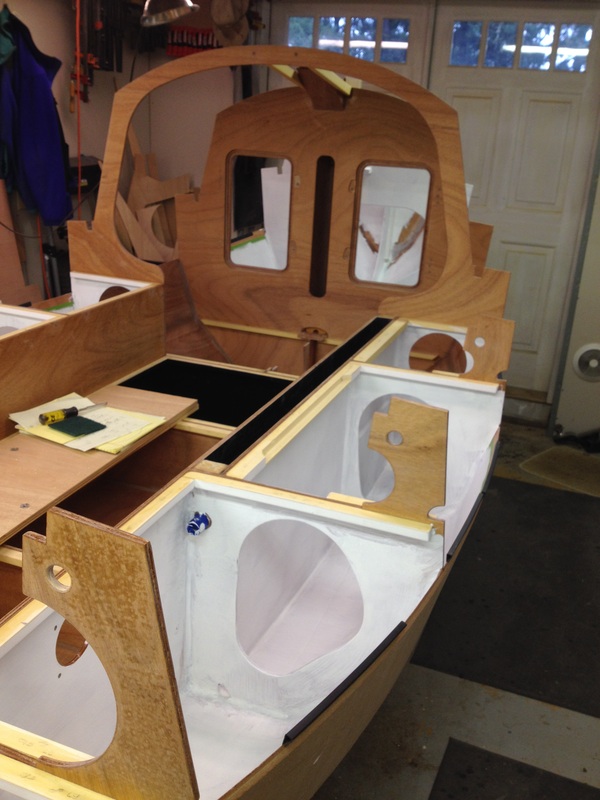
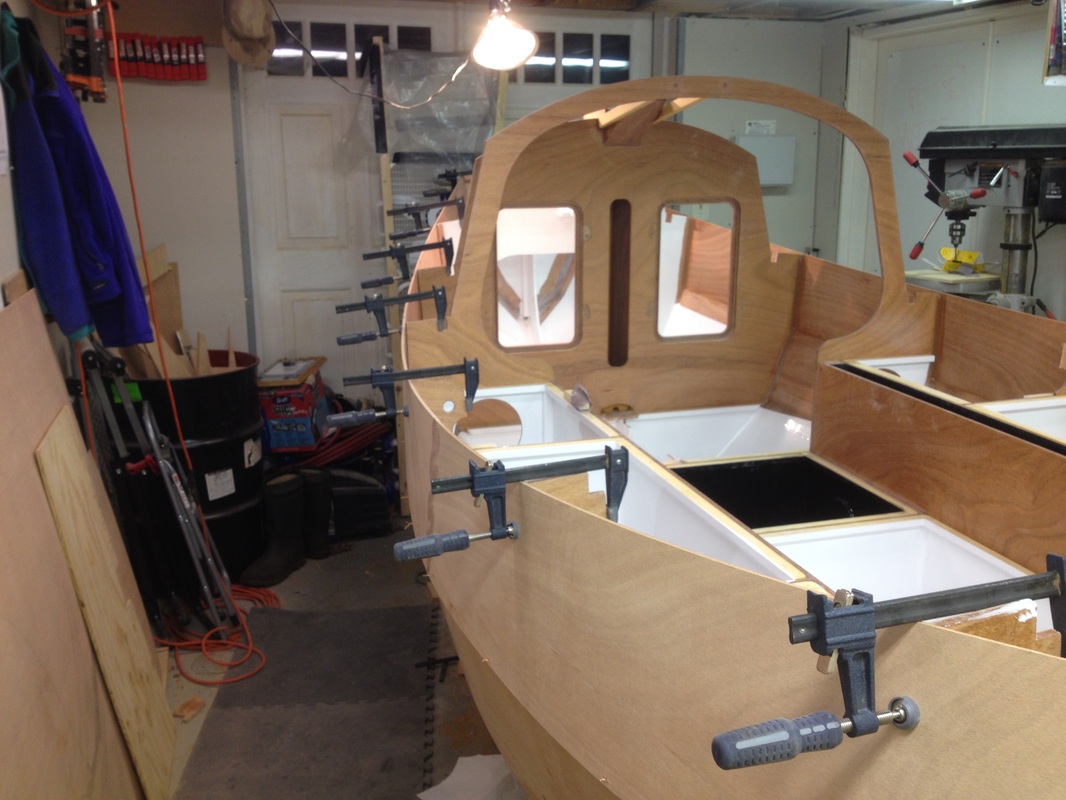
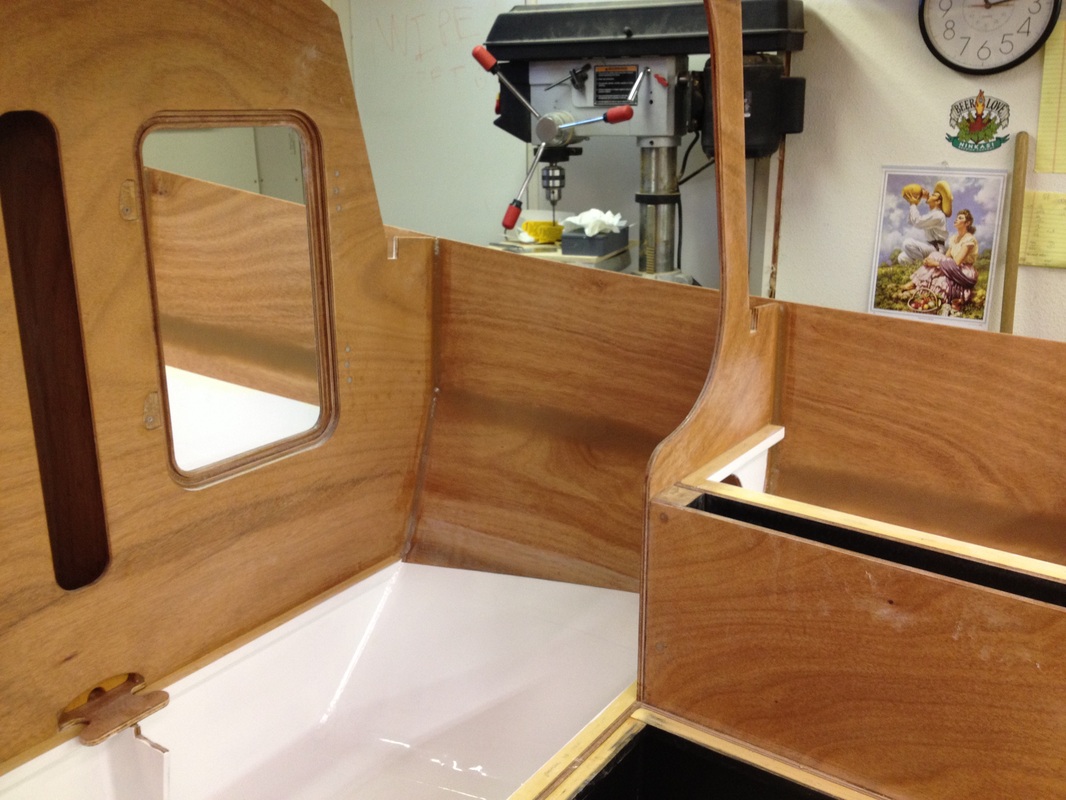
And lastly, finishing painting of the storage areas - areas that had to wait for the 3rd planks.

Isn't it interesting how the straight line marked on the planks, along the back of the seat tops, looks curved. Yeah, I know why - I just think its kinda cool.

4 Comments

Sole, Seat tops prep, final planks

3/12/2014

3 Comments

 
Picture
Here is where we left off at the end of the previous post - both planks 2 have been installed, filleted, and the plank - to - plank fillet fiberglass taped.

Most folks recommend that the various storage areas (under the sole, under seat tops, and forward of the cabin) be painted a light color, to make it easier to find things. And now is a good time to do that, because it gets harder to reach down into some of these areas once the 3rd planks are installed.

Meanwhile, we can be further preparing for the next steps after planks, which are to install the sole and seat tops. So, lets be at it!


Picture
This shows the hatch layout for the starboard seat top. The forward hatch will be to access the large storage area under it, the smaller hatch aft of it is primarily for access to the Whale Gusher bilge pump which will be mounted in the hole you can see in the seat upright, and the aft most round hatch is for access to this area for storage, and secondarily to access the bilge pump inlet. The rectangular hatches are kits from Russell Brown, and the round hatch is an Armstrong deck plate.

Picture
The forward most hatch is a bit of tight squeeze between the (offset)centerboard trunk, and the plank. The piece shown here is the hatch coaming which will be glued to the under side of the seat top, and supports the hatch itself, and the gasket. I routed a rabbit in the seat top cleat to allow the coaming to be inset closer to the trunk. When I glue in the seat top, I will glue the coaming to the cleat as well, so the coaming becomes structurally part of the cleat.

Picture
And here they are (coamings) being glued to the seat tops, as well as hatch stiffeners being glued to the hatch tops. Note that I added stiffeners, or backing plates, for the round Armstrong hatches, as I did with the rectangular sole hatches.

You might note that the hatch tops (and the underside of the seat tops as well) already have a coat of epoxy. It is more difficult to sand these surfaces once the coamings and stiffeners are installed, so I did the first epoxy coat prior to installing them. So I only need to sand after the 3rd coat (2nd and 3rd coat will be done on the same day, with no sanding between).

Picture
Before starting the epoxy coating routine on the seat tops, I routed the recesses for the hatch cams, like I did for the bulkhead 3 hatches. Hopefully these wont become little water collectors - we shall see.

This pix also shows the cutout for access to the centerboard trunk. At the suggestion of Mr Welsford (as related by Keith Nasman), I started the cutout about 8" forward of the aft end of the trunk, to reduce the possibility of water surging up from the trunk. Though I plan to install a centerboard slot gasket which should help with this as well.


Picture
I had been kind of putting off starting the storage area painting, but now is the time to get started. After reading some, and consulting with our local SCAMP expert Simeon Baldwin (a frequent contributor on the SCA SCAMP forum, and writer of the build manual, as well as builder of a beautiful SCAMP named NODDY), I decided to apply two coats of marine enamel (the first being a primer) and one coat of one-part polyurethane - the latter hopefully more ding-resistant than the enamel. I chose Rustoleum Marine primer and topside paint for the first two coats, and Interlux Brightside for the 3rd coat.

I applied the primer to the under-seat areas, and all was well - the new full face respirator really made the entire process as pleasant as possible. Until I finished and went upstairs. The whole house smelled like primer! I have a small fan mounted in the outside wall of my shop (you can just see the round inlet grill on the right edge of the picture), but it was woefully inadequate to the task. Hmm - what to do? Can't continue this way, especially when the weather is not so warm.


Picture
The solution - I went down to the local big box store, and after searching around for awhile finally found the box fans (mid February is not box fan season). Screwed them together, and placed them in the doorway to the shop, covered the open area above with plastic to resist backwash, and then I cracked open the back window to the shop a bit.

The result is that the fans (which are rated for something like 2000 or 2500 cfm each) pull a slight negative pressure in the shop. Some air comes from the back window, but some also comes from the adjacent living spaces. The result is that paint fumes dont travel into the rest of the house. Whew! I was really glad I didn't have to do the painting outside - would have really put a crimp in the schedule.

Picture
Another smaller thing I wanted to do before 3rd planks are installed is to drill the holes in the bow transom for the bow eye.

The hole goes through the edge of the stem, and is about 1.5" long or so. So, I wasnt confident of free-hand drilling the hole. I built a simple jig for my drill to drill this hole (I had since returned the nifty drill guide I had borrowed from John B for the centerboard pivot pin). The result is at right. I drilled a small pilot hole, then followed up with a 5/8" hole which was filled with thickened epoxy and redrilled with a 3/8" hole for the bow eye.

Picture
Picture
The sole doubler was modified for the hatch cutouts, including connections to the gutter that will extend around the perimeter of the sole. The doubler was cut essentially in half as a result, which will make glueing it down to the sole easier to do I think.
Picture
I cut an opening in the aft end of the sole to give access to the area between the two sumps at either side of the sole. These 3 areas are all connected to support the bilge pump (the inlet is in the starboard sump), so I wanted to be able to air out the middle area. I am putting a (non-waterproof) hatch cover in that area, in case I want to store something on the sole there.


Picture
So, with painting done, it is time to install the last planks. I have been looking forward to this, because no matter how careful I am, I keep bumping into the top edge of the plank 2 bevels, and breaking little pieces of them off. Good to have those covered up.

Here is the port plank dry fit - note that the starboard plank has already been glued in, and bulkhead fillets applied.

As with plank 2, I used clamps to the bulkheads at the top of the plank, and copper wires at the plank to plank join.

Picture
I used a different approach for the plank to plank fillets this time. Although adding fiberglass tape was listed as optional for this joint, I decided to add it. At the mid section of the boat, this joint is at the widest part of the hull, so it seems it might be vulnerable to bumping into things, so I wanted it to be strong.

But, some of these fillets are visible in the cabin, so I decided to cut my own tape, rather than use the 9oz tape I used on the other plank joints. In addition to being thicker, the 9oz tape has an even thicker edge, which makes it more difficult to fare. My tape is from 6oz cloth, and I used a technique for cutting it that made it much less of a loose-threads mess.

Before cutting the tape to width, you grab a single strand of glass that runs lengthwise where you want to cut, and pull it out. Then, you cut the cloth where this strand use to be. The result is that you don't (if you cut carefully) cut any other lengthwise strands. and less chance of loose strands during wet out and application.

As with plank 2, I applied the bulkhead fillets, and then let them cure for about an hour or so. I then wet out the tape as with plank 2 (lay out on scrap plywood, wet out with a roller, roll up the wet tape, then unroll in place on the plank, then use the roller to draw the tape down and do final shaping of the still-soft fillet), then let that cure for 3-4 hours. Then, with a brush, I applied a generous coat of epoxy on the tape and a bit past the edge of the tape, and applied a layer of peel-ply on top of the tape. The trick is to not apply too much epoxy that it will run out from under the peel-ply, and make the peel ply quite a bit wider than the tape/epoxy mixture to ensure no runs. It is a bit tricky to get the peel-ply applied flat on a vertical surface - I am still working on that. It isnt as forgiving as fiberglass cloth, since it is such a tight weave.


Picture
The result is that the tape edge is fared nicely, and you get to do the 2nd and 3rd fill coats of the tape in one step - avoiding the sanding step between these two coats (and that is pretty significant - sanding all those taped fillets is not so much fun).

There will still be some sanding to do, and probably a bit of faring, but not as much as without the peel-ply I think.

You can compare the plank 2 taping method and the plank 3 method here - the top of the plank 2 tape is visible along the bottom of the photo (and it has been sanded quite a bit, whereas the plank 3 taping has not yet).

3 Comments

    Author

    Craig Bryant. Never built a boat before, so should be interesting.

    Links

    Dave's (WoodnMetalGuy) SCAMP blog

    Brent's Shackleton build blog
    -----------------------------------

    Archives

    September 2015
    July 2015
    May 2015
    March 2015
    February 2015
    January 2015
    December 2014
    October 2014
    April 2014
    March 2014
    January 2014
    December 2013
    November 2013
    May 2013
    April 2013
    March 2013
    February 2013

    Categories

    All

    RSS Feed

Powered by Create your own unique website with customizable templates.