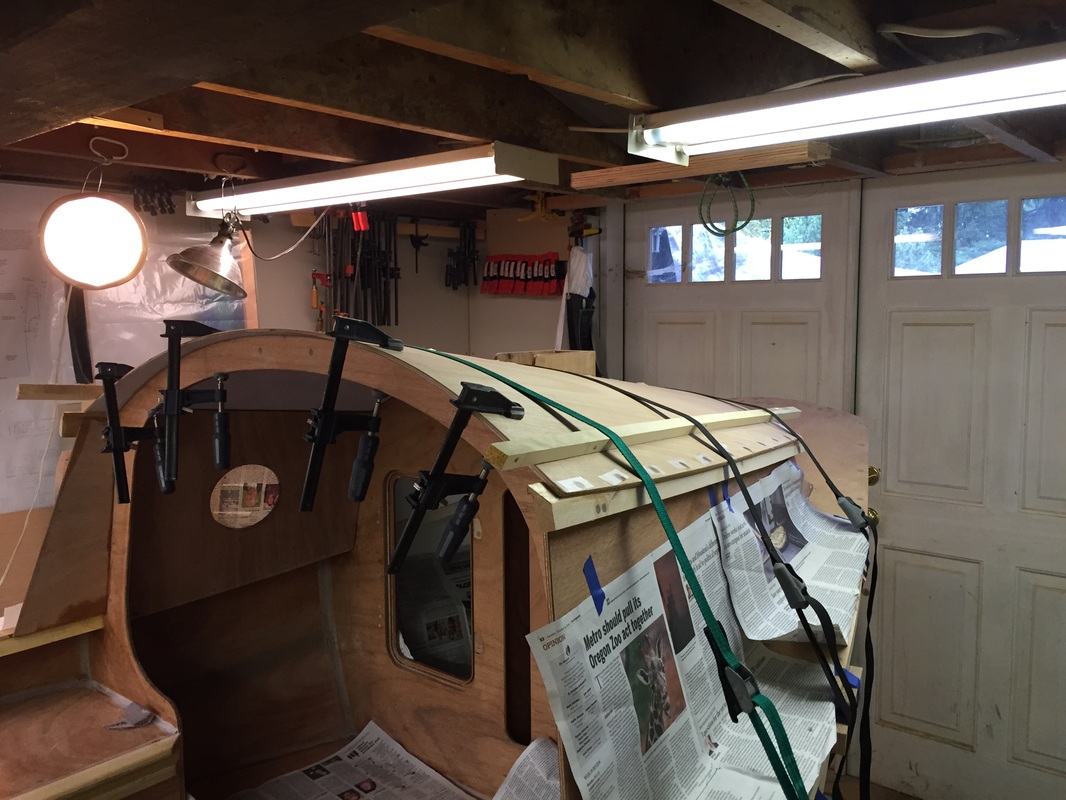
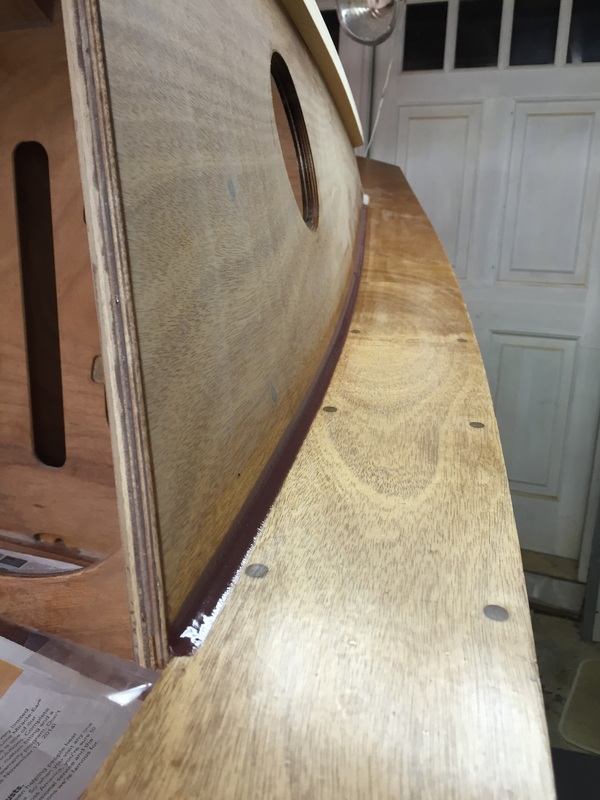
 Here, you can see how I chose to join the doublers, and how the cabin side cleat fits over the top of the cabin side. The small gap is easily filled with thickened epoxy. I had to put small nails in the aft cabin side doublers to keep them from sliding around when I first installed them, which was before installing the aft cabin top doubler. | Well, its been a while since my last post, but work has proceeded. Just been a bit busy to write it all down. Here, the cabin top is being glued down. I was able to use the three straps to get the edges to within about an inch of the cleat, and then I needed to use clamps, and hand power to close the gap and put in the screws. 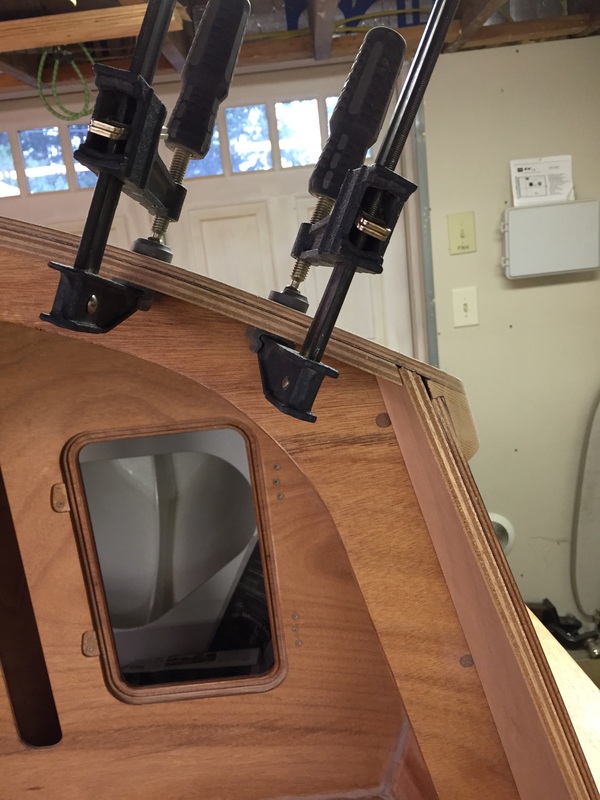 |
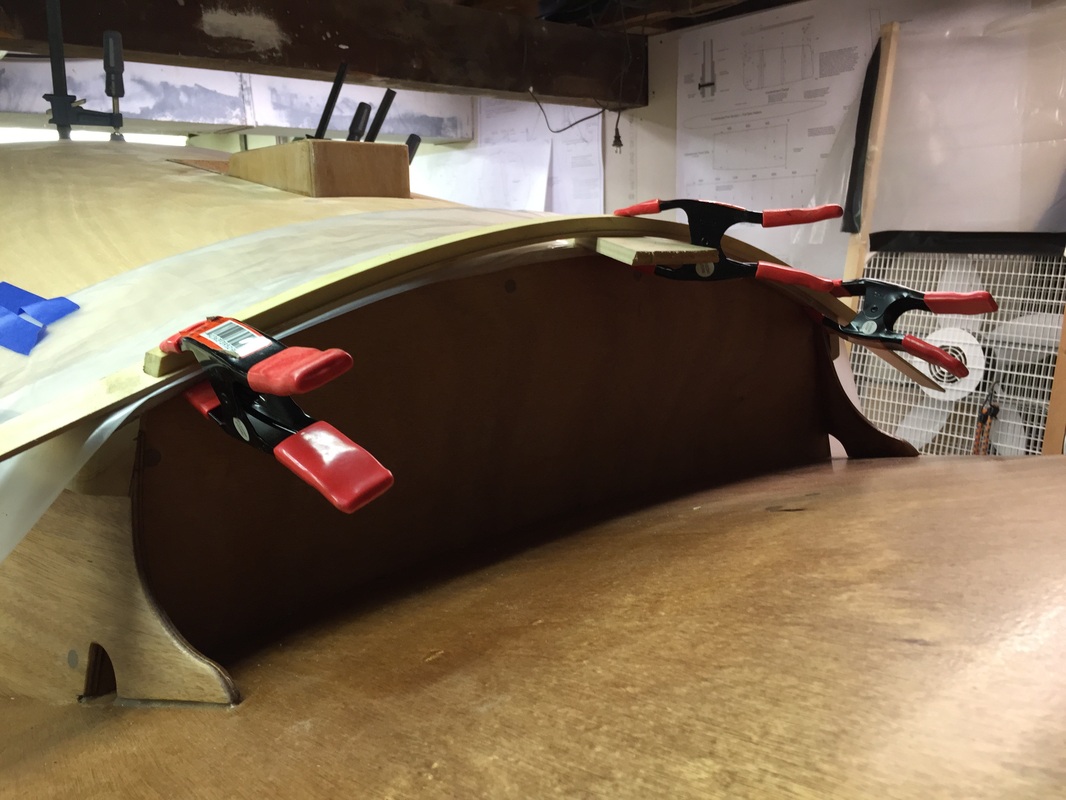  | The foreward cabin top doubler is yellow cedar. I chose to steam it to make it easier to install. Here it is resting from the steam box. There was too much to trim from the edge of the cabin top to use just a sander or rasp, so I wanted to use a plane. However, I was concerned about occasionally catching the blade on the cleat. So, this arrangement helped with that. The strip of wood rides on the cleat and allowed me to trim most of the cabin top edge. |
 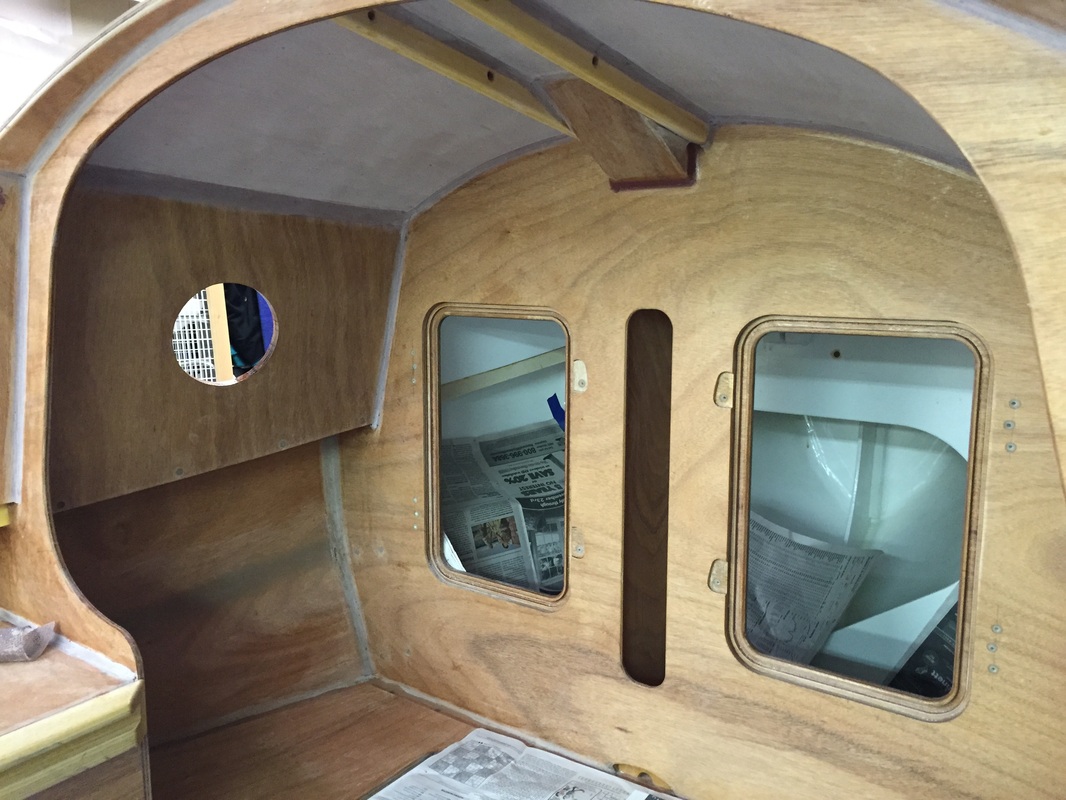 |  Adding fillets to the all of the cabin side and top joints was time consuming, however I decided to switch to the Howard Rice/Russell Brown filler mixture, and to also follow Russell's advice of sanding the fillets within a couple days of applying them. This has made fillet sanding much easier (though still tedious work, and worthy of multiple Car Talk podcasts). However, the fillets on the underside of the cabin top between BH3 and BH2 remain to be sanded. Heck, it was hard enough applying them (though it probably would have been much easier had I waited until the hull was upside down). |
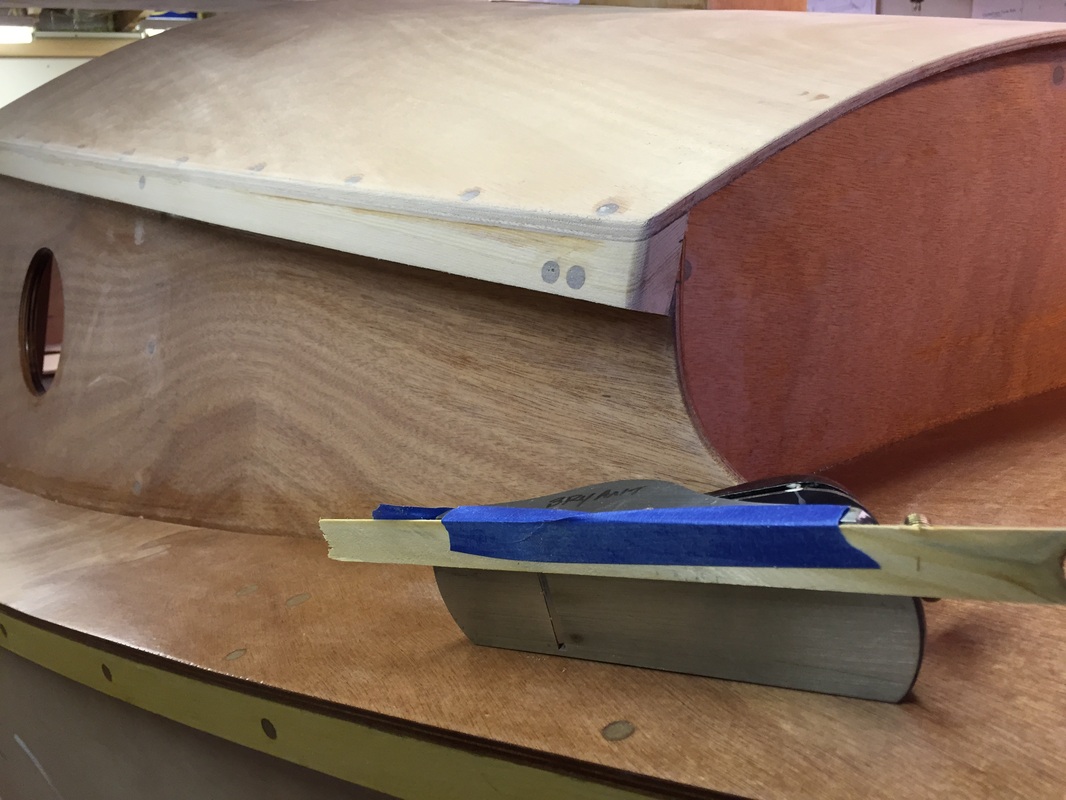
| Here, the fiberglass on the cabin top has been wetted out. This took more epoxy than I was expecting - I used a roller to apply it, which was pretty easy, and it was easy to control the amount of epoxy being applied, but it was a bit slow. Perhaps not the way to go for a larger surface - not sure. The corners turned out pretty well, thanks to help from a nice e-book written by Russell Brown on fiberglassing corners (a companion to his Epoxy Basics book). After a couple more fill coats and sanding, the cabin top is done for now. | 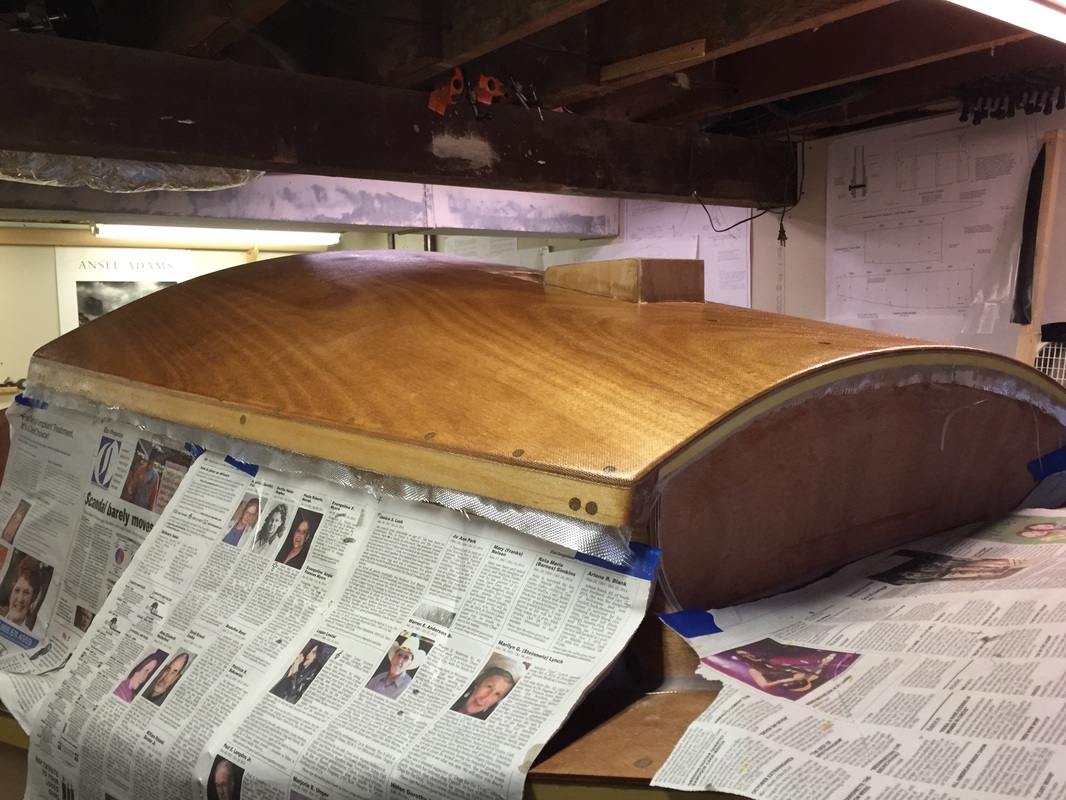 |
 | Time to "Turn The Boat". As you can see, I chose the strap rotation method. This was complicated a bit by the low ceiling clearance in my shop - we had to lower the aft strap quite a bit to clear the cold air return duct above. After about 10-15 minutes of fiddling, we had her over, and with scarcely any damage. BTW, if you haven't heard it from other SCAMP builders, don't trust your ability to slowly release ratchet straps. Nuff said. Thanks for the help Sergei! |
| The successful result! It was surprising how far forward, at this point, the balance point of the hull is. There is not much weight on the aft horse to the extent that shims from the floor to the mast trunk are needed to keep the whole thing from turning into a teeter-totter when working at the bow. |  |
 | Applying and then sanding the fillets between planks and the garboard/bottom joint took a surprising amount of time. Quite a few Car Talk episodes worth. |
 | Way back, when I glued on plank 2, it was difficult to tell exactly how much to overlap it with the garboard plank. The top of the plank mates with corners in the bulkheads, true, but this is a somewhat imprecise location. As you can see here, the overlap between planks 1 and 2 (above), and the overlap between planks 2 and 3 (below it) are not equal. I noticed this when I was installing plank 3, in that there were spots in the middle of the plank where the plank 2 bevel was not quite covered by plank 3. So, be forewarned about this and be somewhat more careful than I was about the positioning of the planks. I dont think this is a problem with ANNIE B, as I have put glass tape on the inside of all three plank joints. |
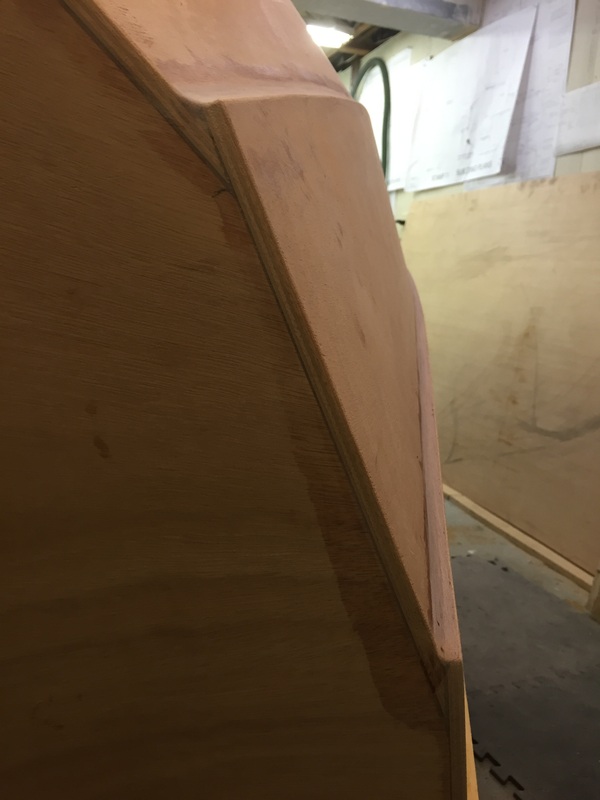
| I rounded over the edges of the centerboard slot, in anticipation of wrapping fiberglass fabric part way in. Which is the next step - that is, glassing the bottom. Stay tuned.... | 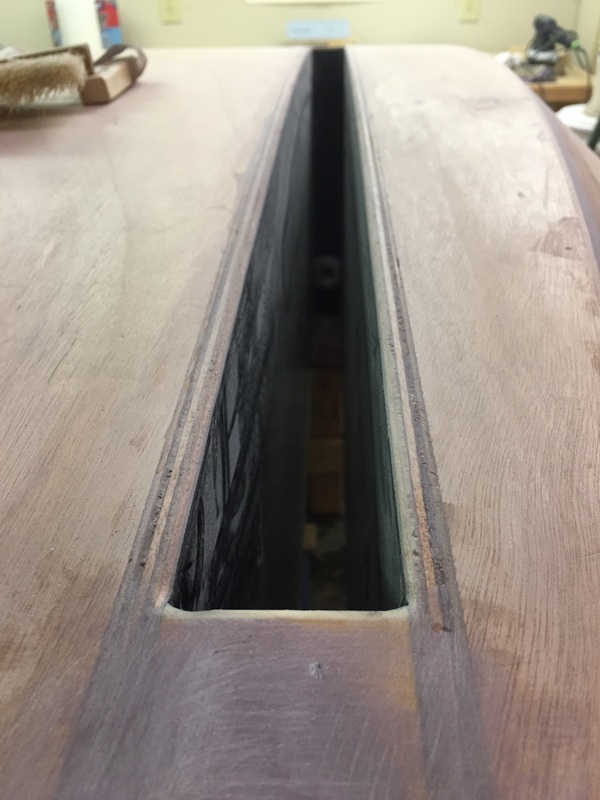 |
 RSS Feed
