 | 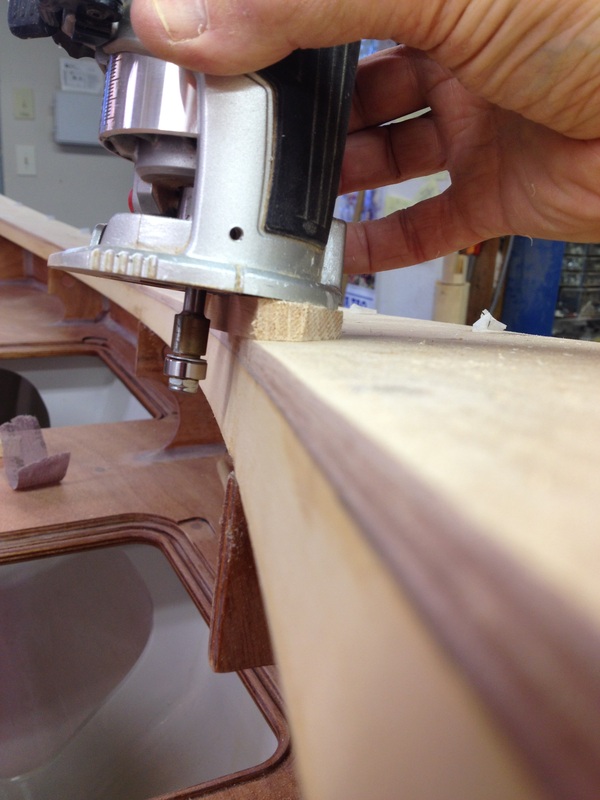 |
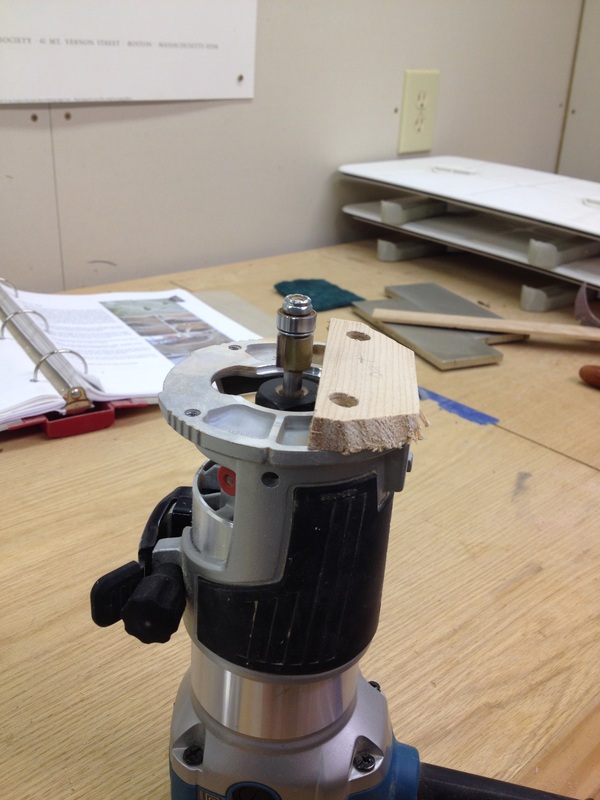
I needed to trim the edges of the deck even with the carlins, and with the gunwales. I started using a hand plane, but it was too difficult to keep from taking a bite out of the supporting piece, so I decided to try using a router with a bottom bearing bit.
The angle between the deck and the gunwale forward of about BH5 is pretty close to 90 degrees, so the router worked well there. Aft of BH5, the router bit would leave some of the deck edge untrimmed, but at least it reduced the amount to be removed by hand (which I mostly did by sanding). The angle between the deck and the carlin is a little more than 90 degrees, and is pretty constant, so I added an angled spacer to the router to match the angle. Worked quite well.
The angle between the deck and the gunwale forward of about BH5 is pretty close to 90 degrees, so the router worked well there. Aft of BH5, the router bit would leave some of the deck edge untrimmed, but at least it reduced the amount to be removed by hand (which I mostly did by sanding). The angle between the deck and the carlin is a little more than 90 degrees, and is pretty constant, so I added an angled spacer to the router to match the angle. Worked quite well.
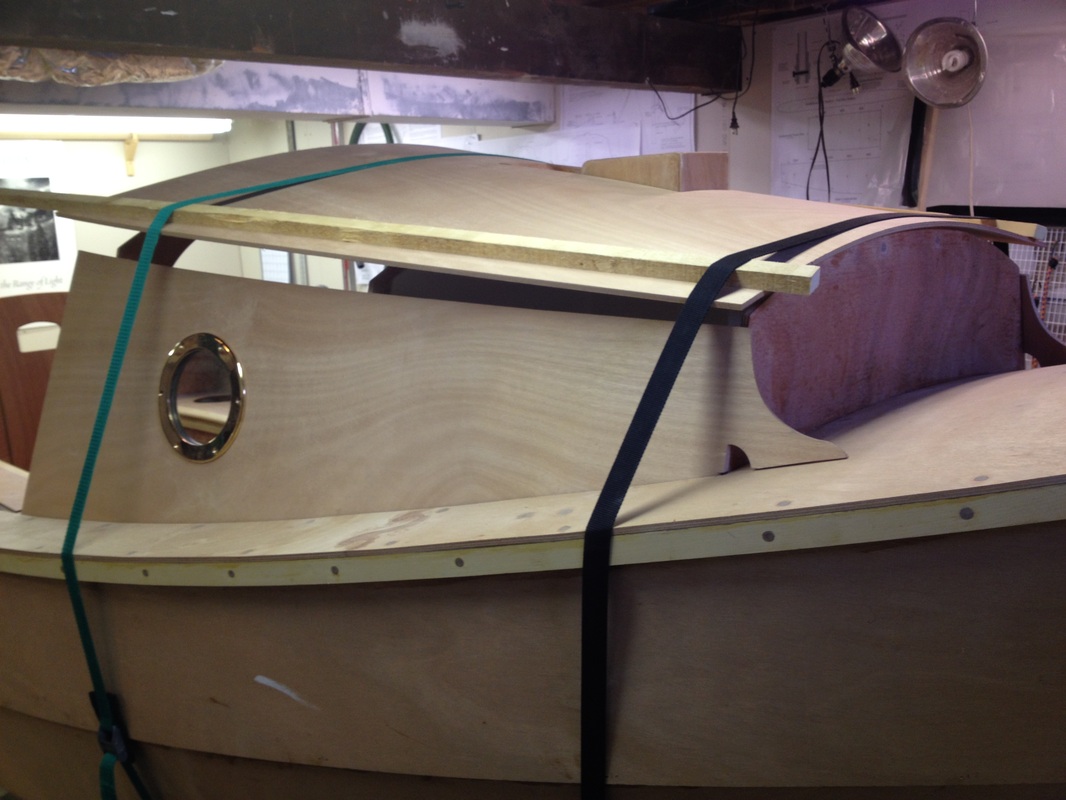 | Next, I trimmed the cabin sides to fit and started playing with fit of the cabin top. You can see the port lights I am going to install here. They are really nice looking bronze parts, but the flange extending into the cabin is 15mm deep. I have a trim ring to go on the inside, but it doesn't fit over the flange, but is designed to sit on top of the edge of the flange. So, I decided to put a layer of 9mm ply on the inside of the cabin side between BH3 and BH4 so that the port light flange will be roughly flush with the inside of the cabin side. Fortunately, I have some plywood left over from other things. |
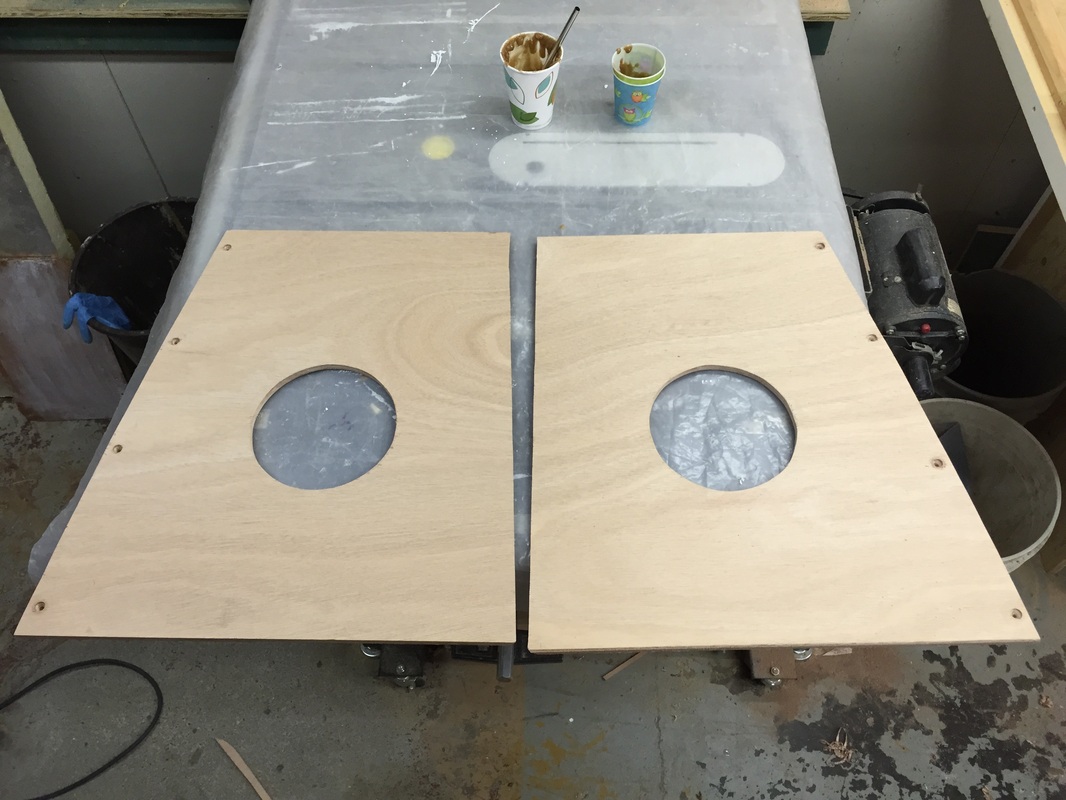 | Here are the additional cabin side pieces. And below, they are being glued in place. They cover and are screwed to the carlins. 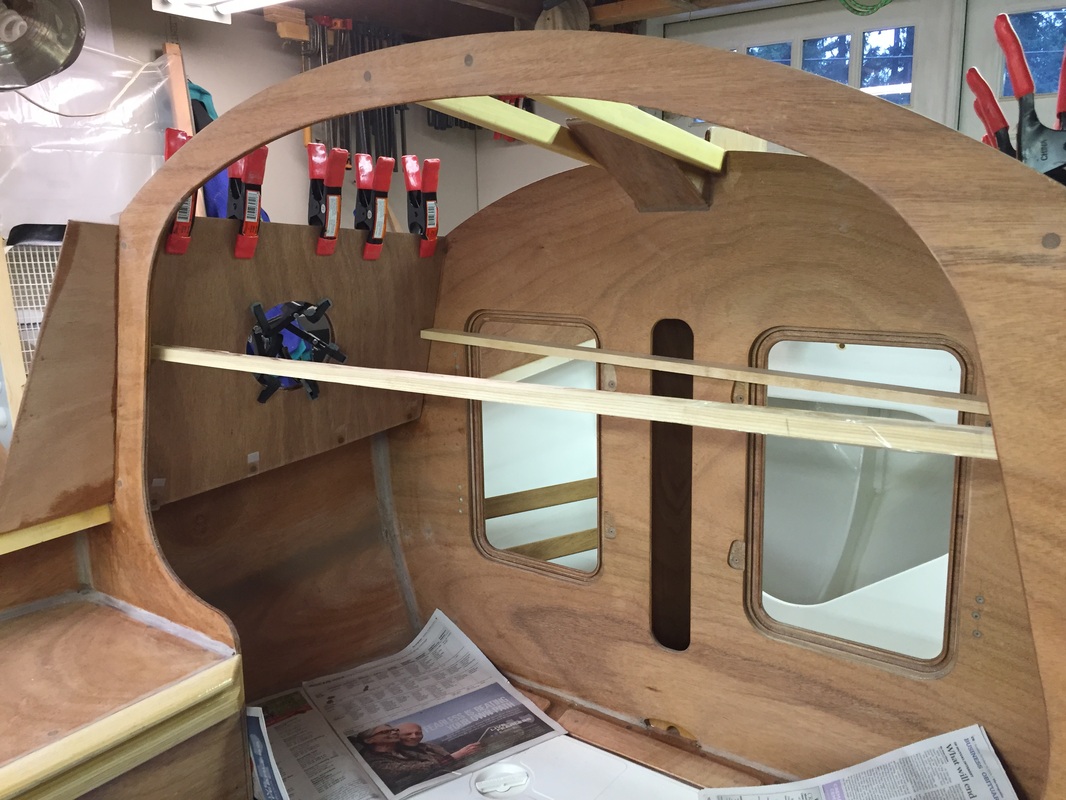 |
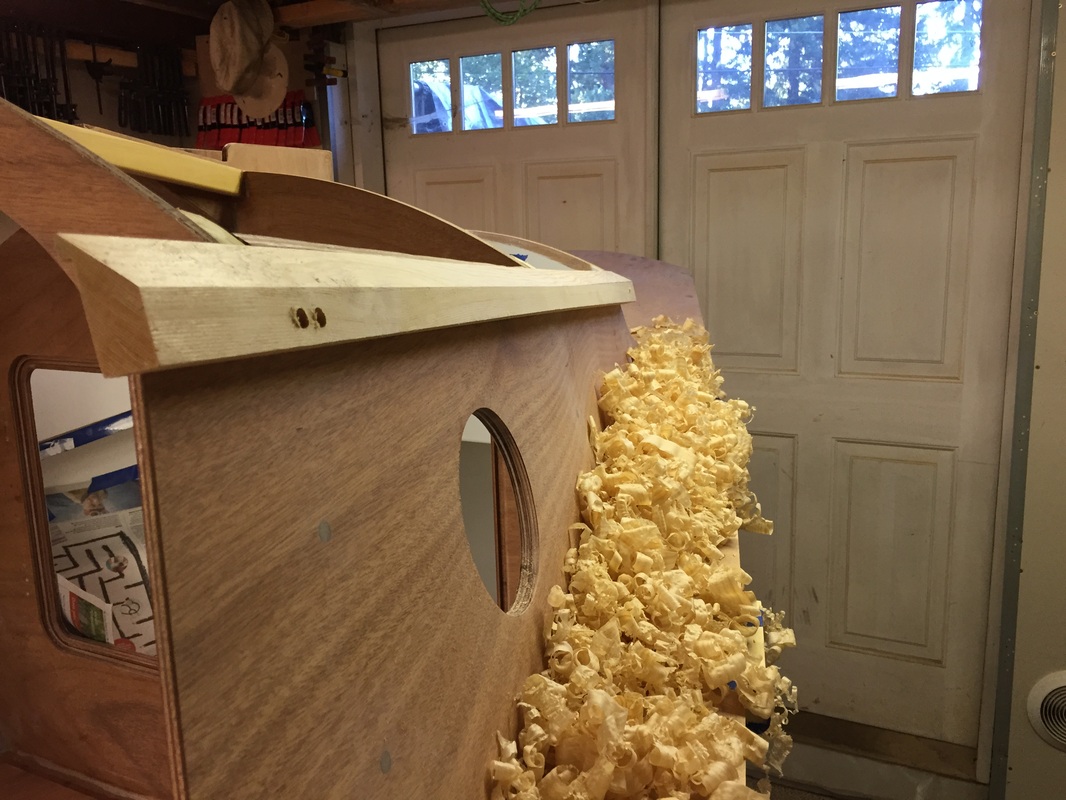 | Next up are the cabin top cleats. These are a bit of work to create. The cabin side is curved, so I steamed the cleats to fit the curve - though I probably didn't need to. My cabin sides don't extend up to the underside of the cabin top (about 1/2" short), so a rabbit on the back of the cleat was needed. I also made a 45 degree cut to approximate the curve of the cabin top, and hand planed the rest (quite the pile of shavings, as you can see). You can also see here that, because the cabin side is curved out at BH2, the cleat is narrower (shorter?) at that BH. I removed the cleat and planed the ends of the bottom of the cleat to obtain an approximate equal reveal over its' length, thinking this would look better. Lastly, the cabin top doesn't quite extend to the edge of the cleat, mostly towards their ends, so I had to trim some off the width (depth?) of the cleat with the table saw. |
 | And here the cleats are being glued in place. No, I didn't put two screws in the cleats - I got ahead of myself and screwed in the starboard cleat before I was ready to, so I repositioned the cleat when I drilled for screw holes for good. The strips with blue tape on the gunwales are to protect it from the straps I am using to bend the cabin top. Next up, installing the cabin top! (unless I think of something else I need to do first....). |
 RSS Feed
