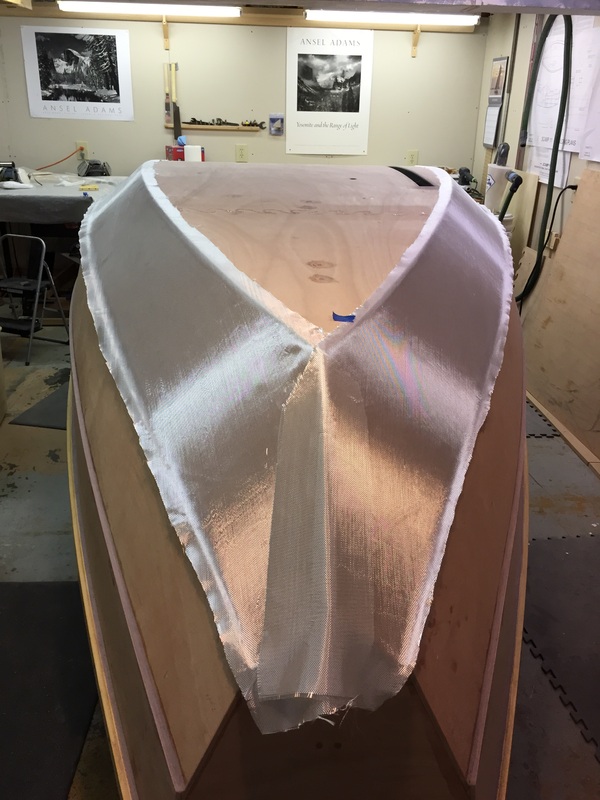
 | On to glassing the bottom! I decided I wanted to reinforce the garboard/bottom joint with a second layer of glass cloth, and so I stole the idea to double glass the entire garboard plank from Dan in Victoria (bcbimmer). Here we are ready for wet out of the first layer. Also, I decided I wanted to lay the bottom glass on top of all this before the wet-out on the garboard planks had cured so I didn't have to put a fill coat on it and then sand it. Ideally, I would have laid the bottom glass on top on the garboard glass first layer without the separate wetout step, and then wetout the double layer. But, I couldn't convince myself that I could keep the glass in place before/while wetting it out. Hence, two steps. However, this means that the entire process starting with the glass shown at left, through 4 fill coats took two long days, starting at about 2am one morning and finishing at 4pm the afternoon of the next day. I waited about 7-8 hours between coats. The one downside of this process I can see (besides two nights of interrupted sleep!) is that I couldn't adequately sand/smooth the edge of the garboard glass on the bottom before laying the bottom glass, so a bit of filling will be required. But not as much as I had feared, as it turns out. |
| Here the garboard glass is wet out. Back to bed! | 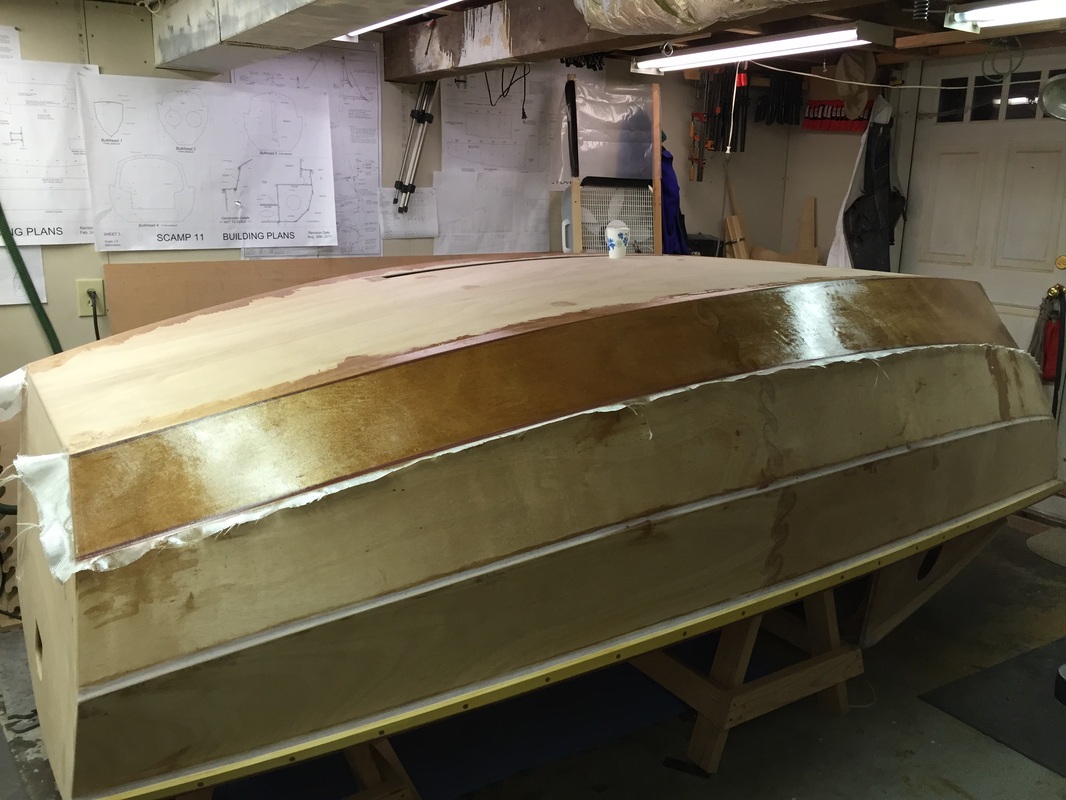 |
| The next morning (actually, later in the same morning!), my friend John Bouwsma came over to help with the bottom glassing. I used a single 60" wide sheet, which comes about 1.5" short on each side, but avoids having to deal with a joint. I sanded (if that is what you can call it when the epoxy is only cured for about 6 hours) the garboard glass edge on the bottom as best I could, and we laid the bottom glass. It tended to catch a little bit on the garboard glass, but not too much. John mixed epoxy while I spread it with a squeegee. I couldn't keep up with him, so he came behind me squeegeeing excess. This division of tasks worked really well, and the glass job came out looking really nice I think. And it took only an an hour from the first batch to finished squeegeeing. I was a bit concerned about epoxy getting into the ballast tank drain hole, so I swabbed the inside with WD-40, but it turns out that no epoxy dripped in after all (I avoided squeegeeing large amounts of epoxy directly over the hole). | 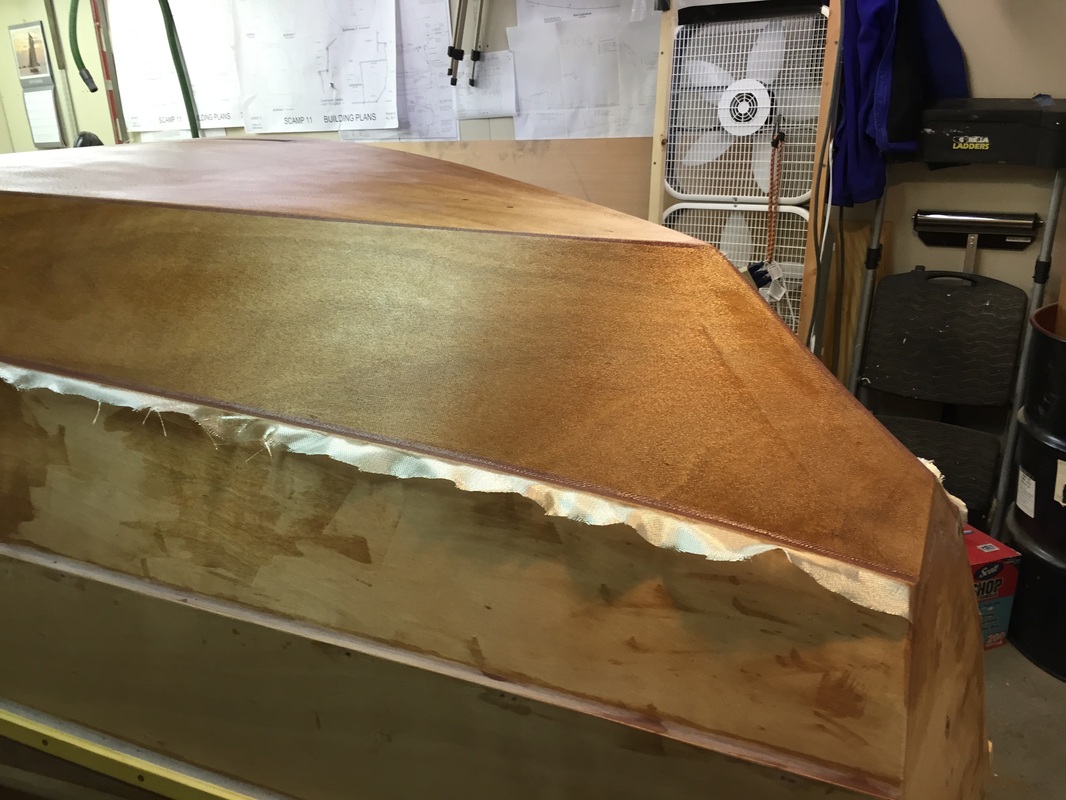 |
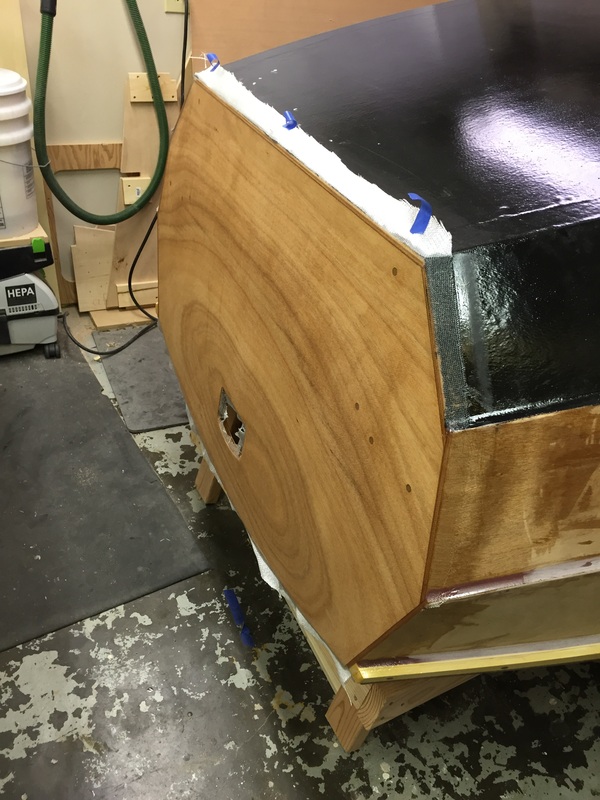
 | Here you can see the portion of the garboard plank that is not covered by 2 layers of glass, due to the 60" wide glass. |
 | I used a wall paper brush to smooth the glass before wet out. This worked much better than trying to use my hand. |
| Here is the 3rd fill coat. First two were epoxy with a small amount (~15% by volume) of 410 filler to make sanding easier and to help avoid runs on the planks. 3rd and 4th fill coats also include graphite powder, as the bottom and topside paint will be a darker color. You can see the overlap of glass on the edge of the bottom. After all the fill coats, and subsequent sanding, this is much less noticable, and will required just a small amount of filling I think. | 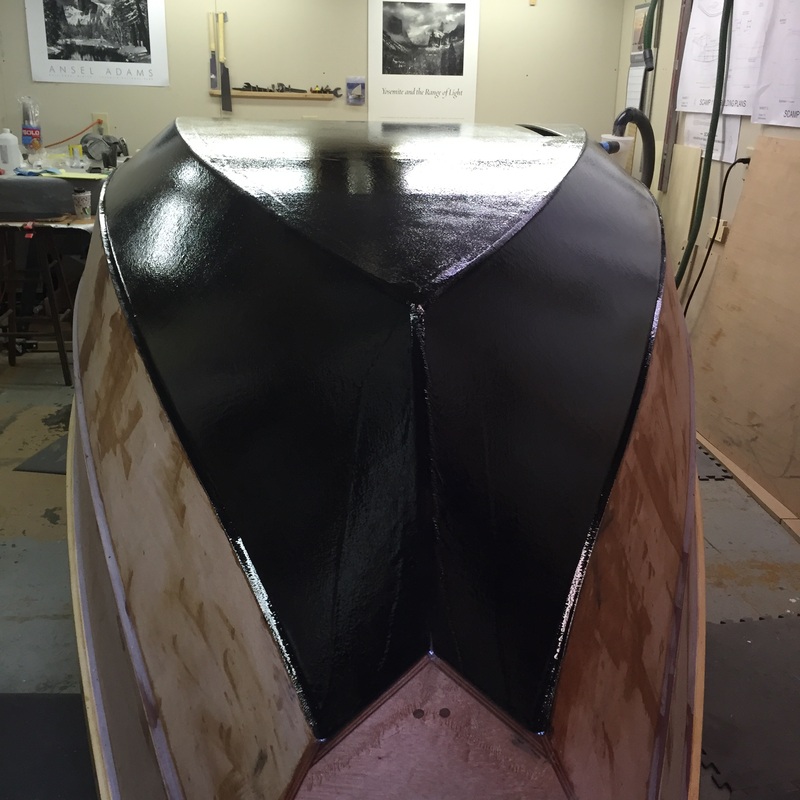 |
 | Next up is glassing the transoms. I overlapped the stern transom glass onto the planks but not onto the bottom, as the bottom glass had already overlapped onto the transom. I will be finishing the stern transom with a clear finish, so fill coats on it are all clear epoxy. Bow transom gets the same fill treatment as the bottom and garboard planks. The transoms only got 3 fill coats though. |
 | The 2nd and 3rd planks get the usual 3 coats of epoxy - first one clear, allowed to cure overnight, scraped and lightly sanded, then two coats the same day. However, the 2nd and 3rd coats included 410 filler and graphite powder. |
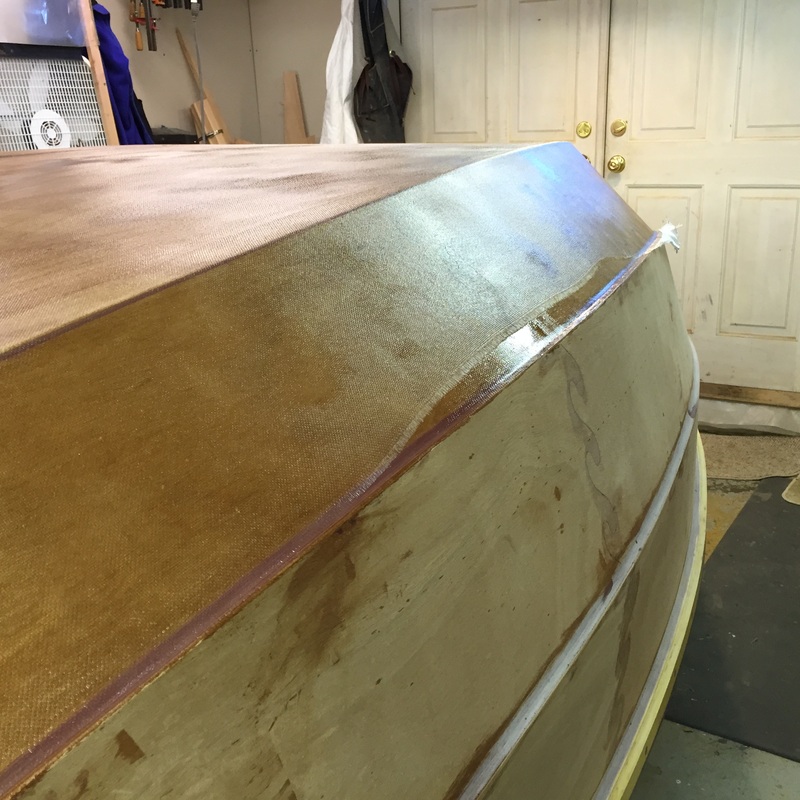
 | And now the fun begins! Starting to sand the bottom using primarily a long board. It turns out that having two clear fill coats and two black fill coats on the glass made it much easier to tell where I was in the epoxy layers when sanding. When I could start to see wood color, I could tell I had sanded through the top two coats, but still had a couple fill coats to go. |
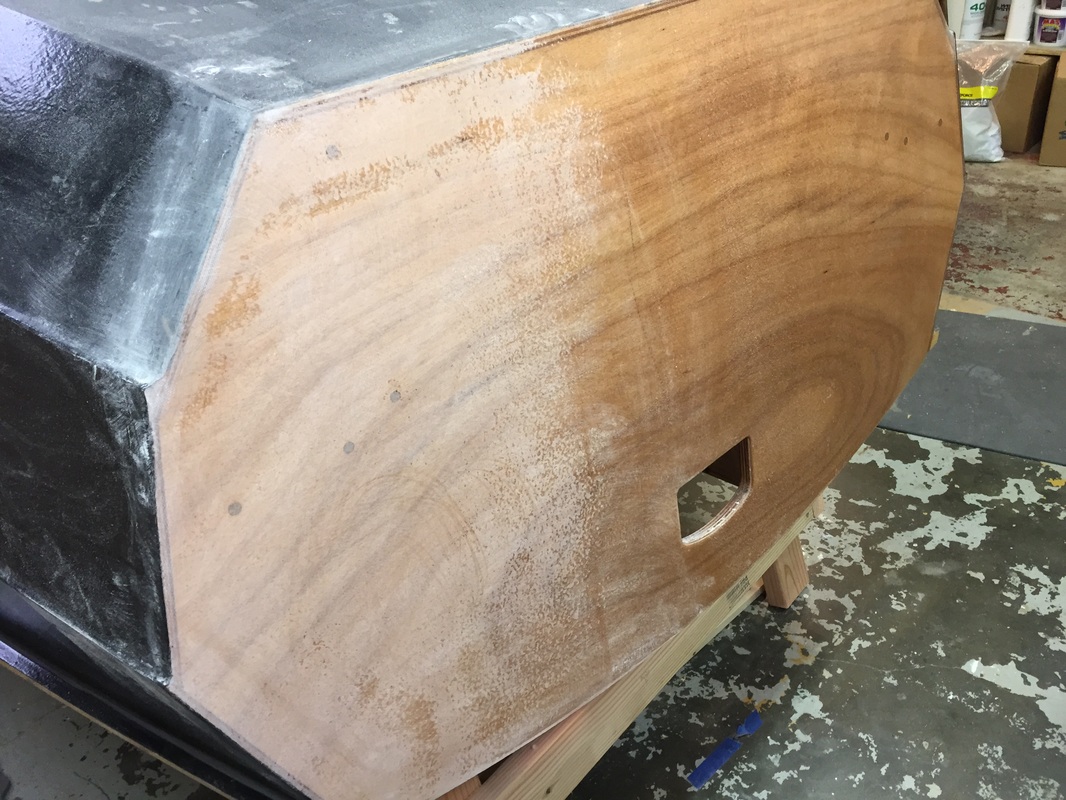 | 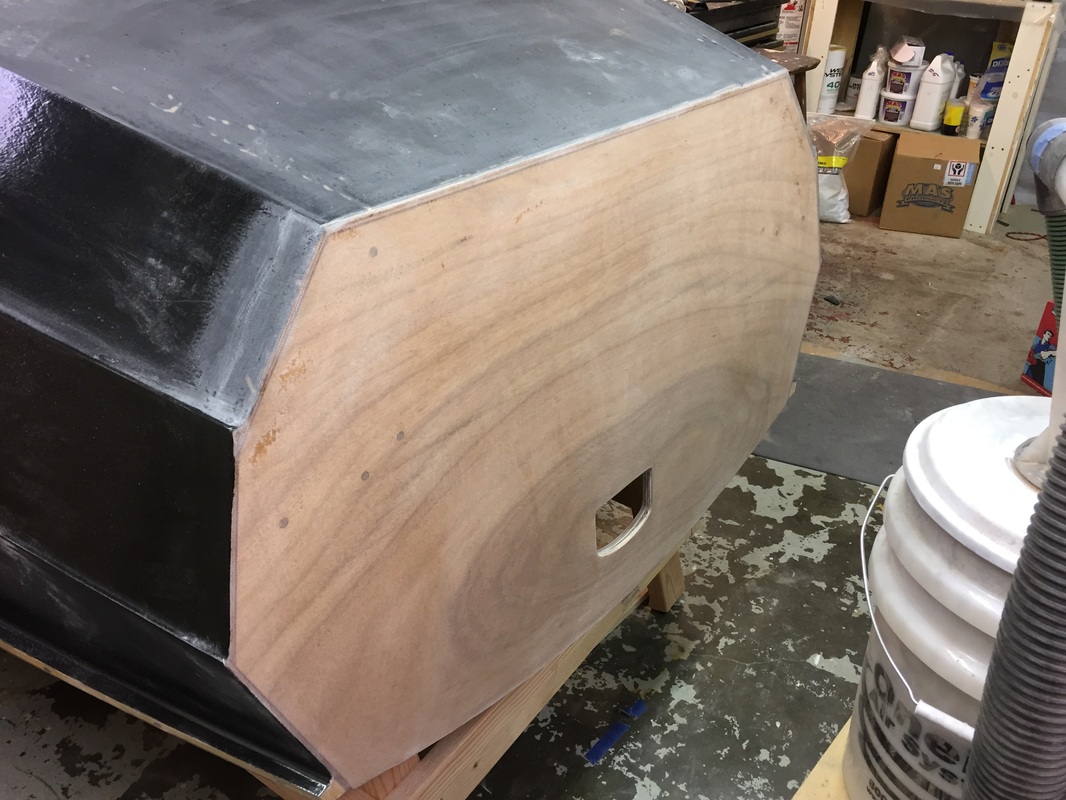 |
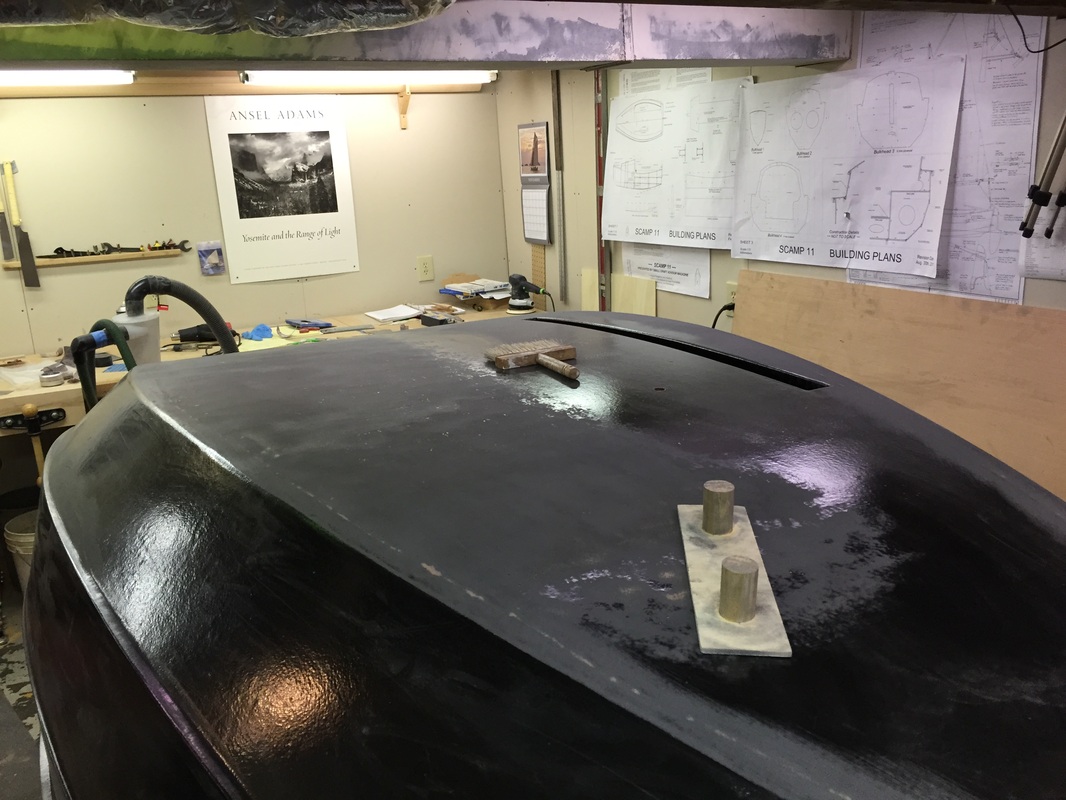
 |  After many hours of sanding, the bottom, the inside edge of the centerboard trunk (which had glass lapped into it), both transoms, and the port garboard plank are sanded. As you can see from the plank pix above, it takes a fair amount of sanding to go from epoxy with an orange peel finish to a smooth finish. My plan is to finish sanding the planks, then fill the low spots I have found, sand those out, and then put one more coat of epoxy on the entire hull (with graphite except stern transom). After another sanding, hopefully this will be good enough for paint. We shall see!! |
 RSS Feed
